
We hope you love the products we recommend! Just so you know, Trendy Mami may collect a share of sales or other compensations from the links on this page.
–
Beach waves have that rare ability to look put together without looking like you spent an hour making every strand behave. Loose texture, soft bends, and slightly undone ends give the style its signature relaxed finish, but getting there can look completely different depending on your hair. Learning how to get beach waves that actually work for your texture starts with choosing a technique that creates movement without leaving you with stiff, overly perfect curls.
You’ve got plenty of options, whether you love your curling iron, prefer a flat iron, want to try a waver, or would rather skip hot tools altogether. Hair length, natural texture, styling time, and how well your hair holds a curl can all influence which method gives you the best result. Once you understand how to get beach waves using a few different techniques, you can pick the one that makes sense for your hair instead of trying to force the same tutorial to work every time.
This guide breaks down 7 easy methods to achieve beach wave hair, along with the prep, tools, barrel sizes, and small styling details that can make a noticeable difference in the finished look. You’ll also find tips for avoiding common mistakes, choosing products without weighing down your hair, and creating waves that look loose rather than overly curled. If you’ve been wondering how to get beach waves that look natural and last, start here.
What Is Beach Wave Hair?
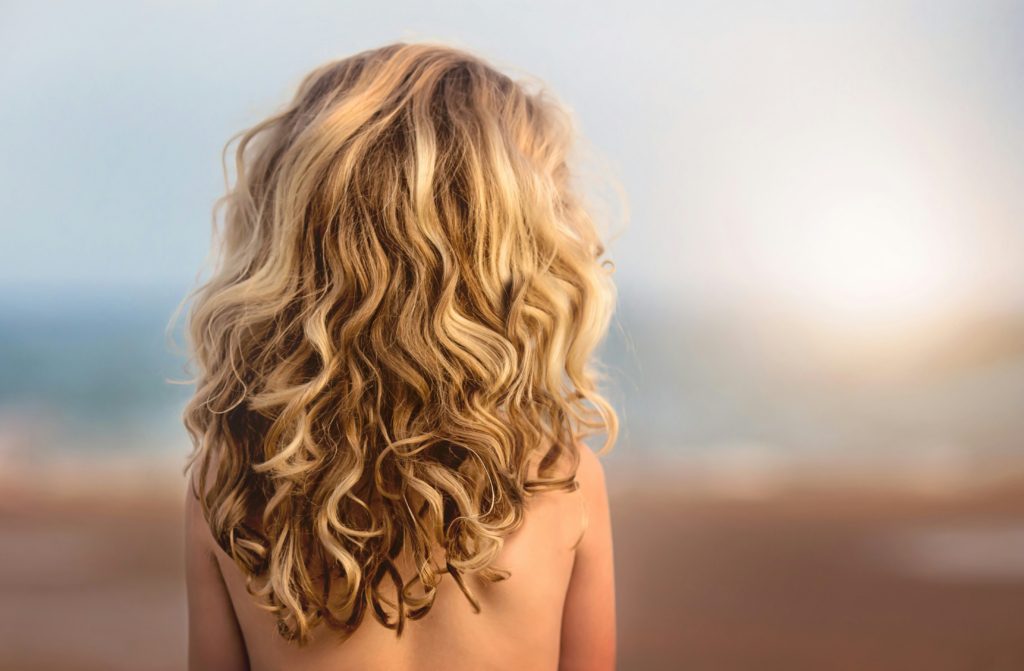
Beach wave hair is a hairstyle of loose, tousled waves designed to give hair natural looking movement and texture without the uniform shape of traditional curls. The style gets its name from the relaxed texture hair can develop after a day near the ocean, but you certainly don’t need saltwater to create it. Learning how to get beach waves can involve heat styling tools, overnight techniques, braids, styling products, or a combination of methods depending on your hair type and the finish you want.
Part of the appeal is that beach waves aren’t supposed to look overly precise. Leaving the ends a little straighter, varying the direction of the waves, and gently separating them after styling can create that softer finish. Once you know how to get beach waves that work with your particular hair texture and length, the style can be adjusted from barely there bends to more defined, voluminous waves.
Is Beach Wave Hair Still in Style?
Yes, beach wave hair is still very much in style and continues to be one my favorite hairstyles for both everyday wear and special occasions alike! Its soft, effortless appearance complements current beauty trends that embrace natural texture, healthy looking hair, and styles that feel relaxed rather than overly polished.
Part of the appeal is how adaptable beach wave hair can be. Loose waves pair beautifully with casual outfits, office attire, formal dresses, and everything in between, making them a hairstyle you can wear throughout the year. The look also flatters virtually every face shape and works on short bobs, shoulder length cuts, and long hair alike, which helps explain why it has remained a salon favorite for years.
Another reason beach wave hair continues to trend is that there are now more styling options than ever before. Whether you’re learning how to get beach waves with a curling wand, flat iron, braids, or another heatless technique, it’s easier than ever to create soft waves that suit your personal style. With the right method and a few simple styling tips, beach wave hair can look fresh, modern, and effortlessly chic no matter the season (but I personally love rocking this look in the summer and, unexpectedly, in the winter, too!)
Related: What to Pack for a Beach Vacation Without Overpacking
What Is the Difference Between Beach Wave Hair and Curls?
Beach waves are generally looser and less uniform than traditional curls, with softer bends through the lengths and ends that may remain relatively straight. Curls tend to have a more defined spiral or ringlet shape, while beach waves are meant to look relaxed, textured, and slightly undone.
How to Prep Your Hair Before Styling to Get Beach Wave Hair
Beach Wave Hair: Should You Start With Clean or Dirty Hair?
You don’t necessarily need freshly washed hair to create beach waves. Hair that’s a day or two past washing can actually be easier to style because it often has more natural texture and grip, while freshly washed hair may feel especially soft or slippery. If you’re learning how to get beach waves and find that yours fall flat quickly, starting with hair that has a little texture may help the style hold its shape.
Freshly washed hair can still work beautifully, especially if your scalp gets oily quickly or you prefer styling from a clean base. Apply lightweight products that add texture or volume without weighing down your strands, then make sure your hair is completely dry before using hot tools. Finding how to get beach waves that last often comes down to working with your hair’s natural tendencies rather than following a strict rule about when to wash it.
What Products Should You Use Before Creating Beach Wave Hair?
The right products depend on your hair texture and the method you’re using, but you generally don’t need to pile on several formulas at once. Too much product can leave beach waves heavy, stiff, or greasy instead of giving them the loose movement you’re after. A few useful options include:
• Heat protectant before using a curling iron, flat iron, waver, or other hot tool
• Volumizing mousse for fine or flat hair that needs more body and grip
• Lightweight styling cream for hair that’s prone to frizz or flyaways
• Texture spray to add separation and help create a more relaxed finish
• Sea salt spray for extra texture, particularly if your hair already has some natural wave
When deciding how to get beach wave hair with your particular hair type, start with less product and add more only when you need it. Fine hair may need little more than heat protectant and a lightweight texture product, while thicker or frizz prone hair may benefit from additional smoothing and hold.
Beach Wave Hair: How to Protect Your Hair Before Heat Styling
Heat protection always should be part of your routine whenever you’re creating beach wave hair with hot tools. Apply a heat protectant according to the product’s directions before using a curling iron, flat iron, or waver, making sure it’s distributed throughout the sections you’ll be styling (you’ll regret not doing it).
Your tool doesn’t need to be set to its highest temperature to create lasting waves. Use the lowest effective heat setting for your hair, avoid repeatedly passing a hot tool over the same section, and never use a standard curling iron or flat iron on wet hair. If you’re figuring out how to get beach waves while limiting heat exposure, you can also alternate between hot tool styling and heatless methods such as braids or overnight curlers.
Which Beach Wave Hair Method Is Right for You?
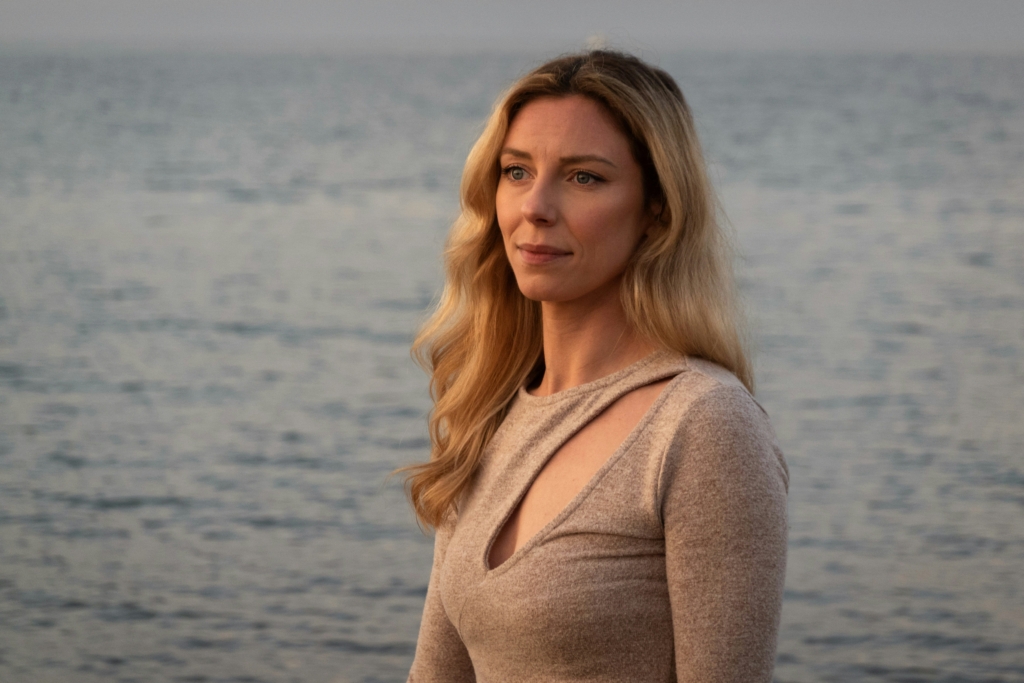
There are plenty of ways to create beach wave hair looks, but the best technique depends on your hair, your schedule, and how much effort you want to put into styling. A curling iron can create more defined waves that hold their shape, while braids and heatless curlers are useful when you’d rather style your hair without hot tools. If you already have natural texture, you might only need the right product and a little encouragement to bring those waves out.
Knowing how to get beach waves also means knowing which method makes sense for the result you want. Someone with fine, straight hair may need a completely different approach than someone with thick or naturally wavy hair. Before jumping into the tutorials, use this quick comparison to narrow down the techniques that are most likely to work for you.
| Method | Best For | Heat Needed? | Styling Time | Result |
|---|---|---|---|---|
| Crimper or waver | Beginners and thick hair | Yes | 10 to 20 minutes | Defined waves |
| Flat iron | Straight or fine hair | Yes | 10 to 20 minutes | Soft bends |
| Heatless curlers | Limiting heat | No | Several hours or overnight | Soft waves |
| Texture spray | Naturally wavy hair | No | A few minutes | Tousled texture |
| Curling iron | Most hair types | Yes | 15 to 30 minutes | Defined, lasting waves |
| Braids | Easy overnight styling | No | Overnight | Relaxed waves |
| Automatic curler | Easier curling | Yes | 15 to 30 minutes | Consistent waves |
How to Get Beach Wave Hair: 7 Easy Methods for Every Hair Type
These methods to getting beach wave hair are worth trying out:
1. How to Get Beach Wave Hair With a Hair Waver
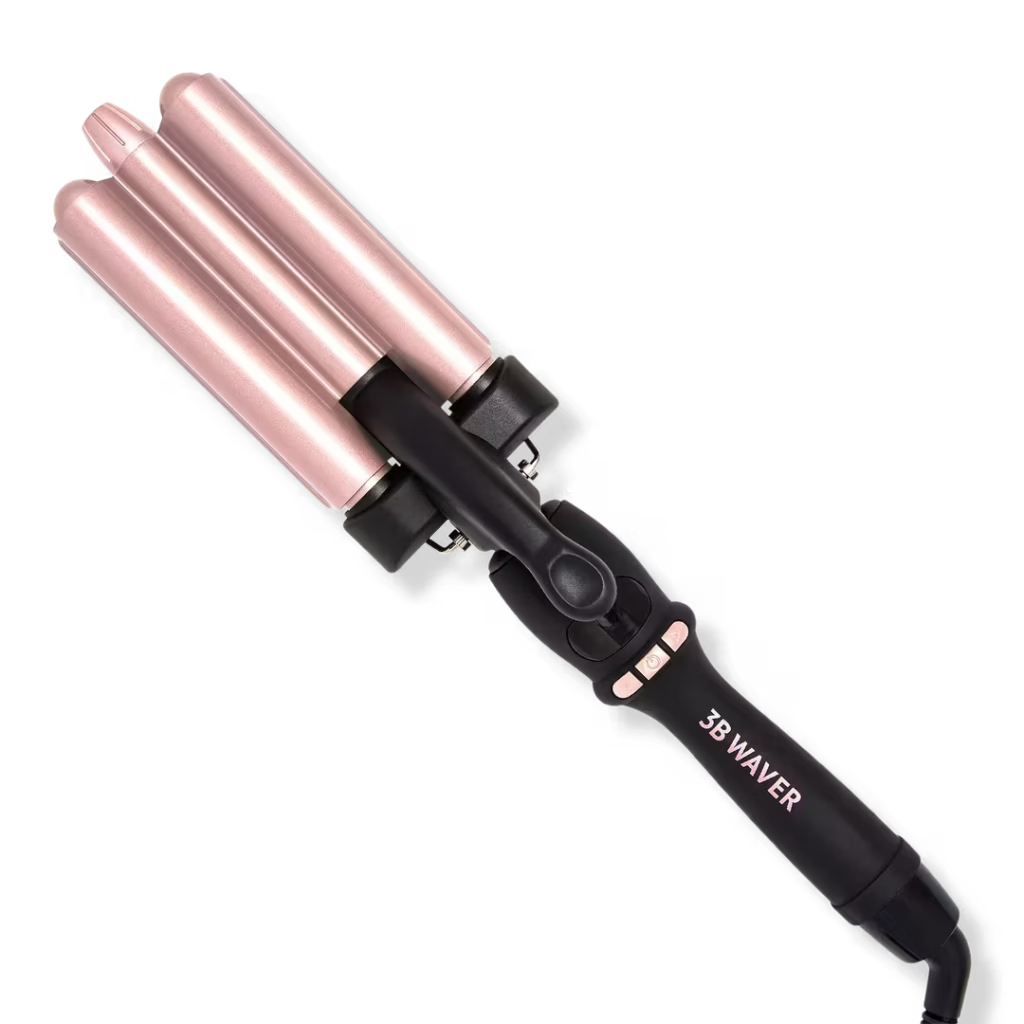
Anyone else remember these?! Early 2000s girls unite! Crimpers are an easy and fast way to get beach wave hair without much effort. The Midnight Rose 3B Waver is a great option for creating waves that mimic the natural bends you get from ocean air and sun. To use a crimper, take small sections of hair and clamp the tool from root to tip. The heat molds the hair into a loose S-pattern that gives the illusion of texture and movement. Finish with a light mist of hairspray to keep the waves in place all day.
2. How to Get Beach Wave Hair With a Flat Iron
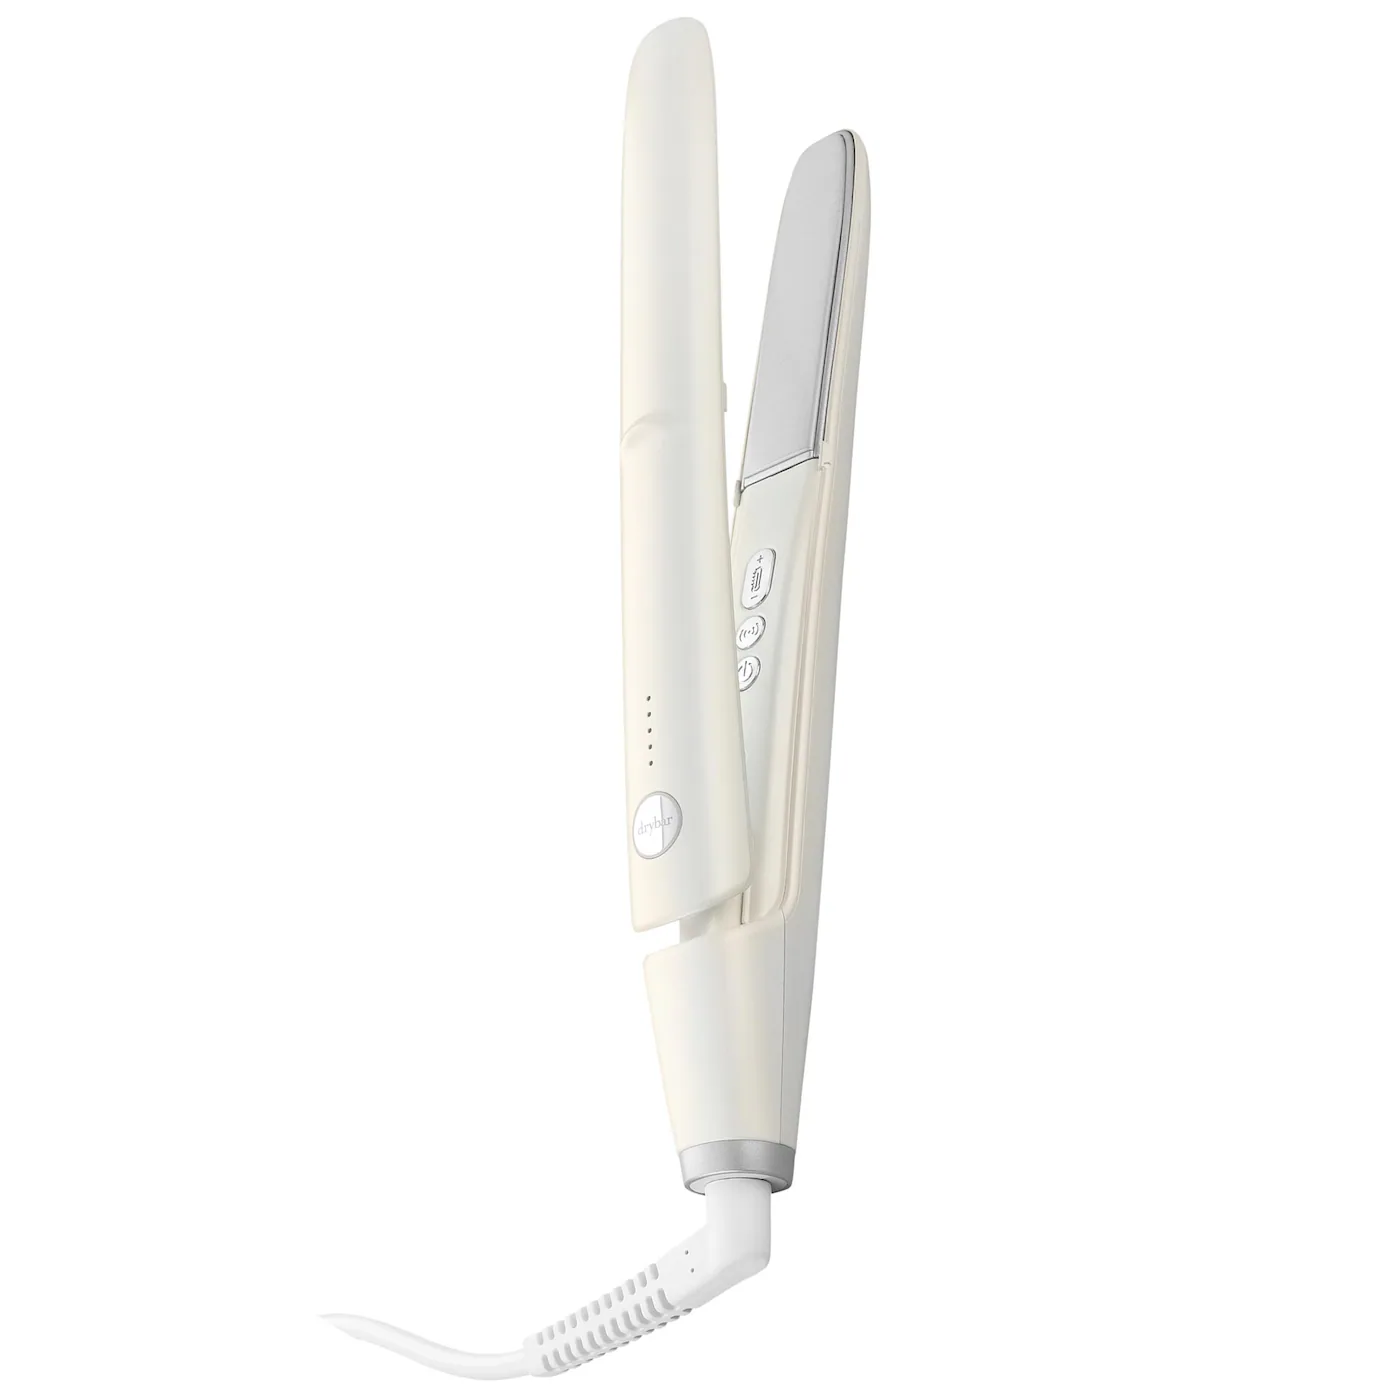
While flat irons are typically used to straighten hair, they can also be used to craft beach wave hair with the right technique. The Drybar Reserve Vibrating Flat Iron from Sephora is especially effective for this. To create waves, clamp a section of hair and twist your wrist as you slowly pull the flat iron down the strand. Alternate the direction of your twists for a more natural and undone look. Practice makes perfect, and the result is soft, wearable waves with just the right amount of polish.
Related: Build a Summer Capsule Wardrobe That Feels Like a Vacation
3. How to Get Beach Wave Hair Without Heat
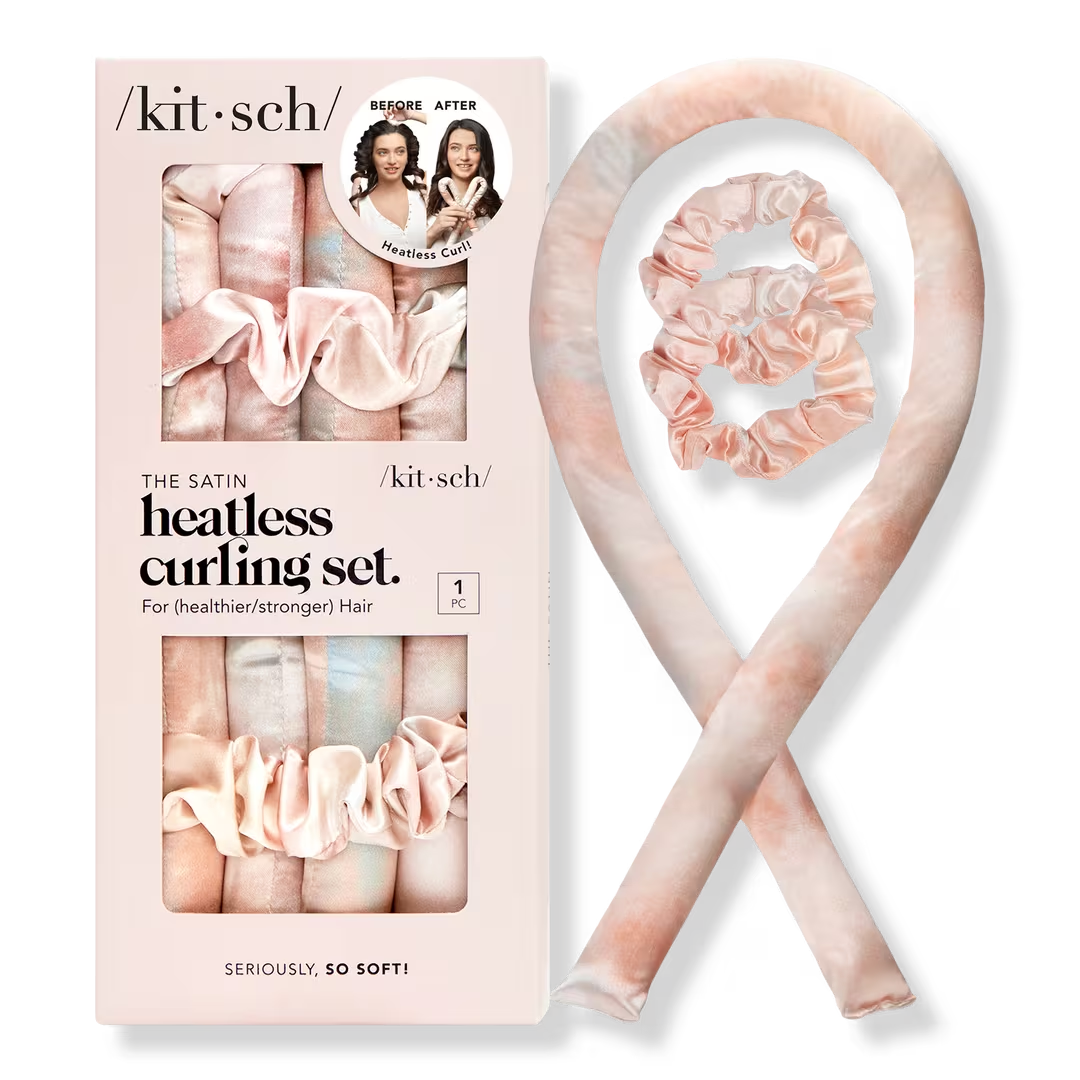
Heatless curls have quickly become one of my favorite ways to get the beach wave hair look. If you want beach wave hair without using heat, the Kitsch Satin Heatless Curling Set from Ulta is a game changer. This method involves wrapping damp or dry hair around a soft satin rod and securing it in place overnight. By morning, your hair will have formed into soft waves that closely resemble beachy texture. It’s perfect for anyone looking to avoid heat damage while still achieving a chic, natural wave!
Related: Best Heatless Curls Methods for 2026 (That Actually Work)
4. How to Get Beach Wave Hair With Texture Spray
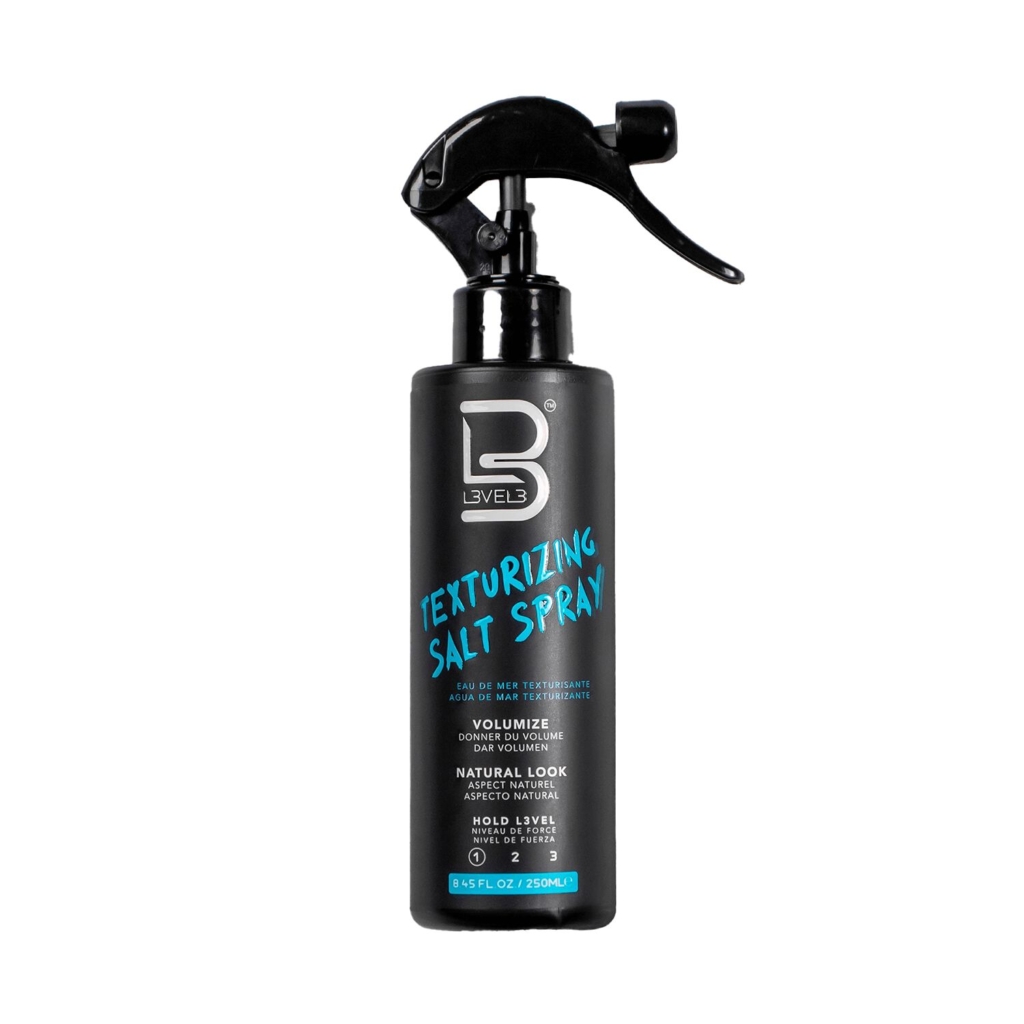
Texturizing sprays are an excellent way to enhance beach wave hair, especially if your natural hair is already a little wavy. Personally, for me, texturizing spray doesn’t work great since I have pin straight hair, but for friends who have a slight wave to their hair already, it shows pretty amazing results! Products like Texturizing Salt Spray are specially formulated to add grip and volume. Apply them to damp or dry hair and scrunch the strands upward to enhance the wave. These sprays give a light hold and matte finish, making your waves look like you just stepped off the sand.
5. How to Get Beach Wave Hair With a Curling Iron
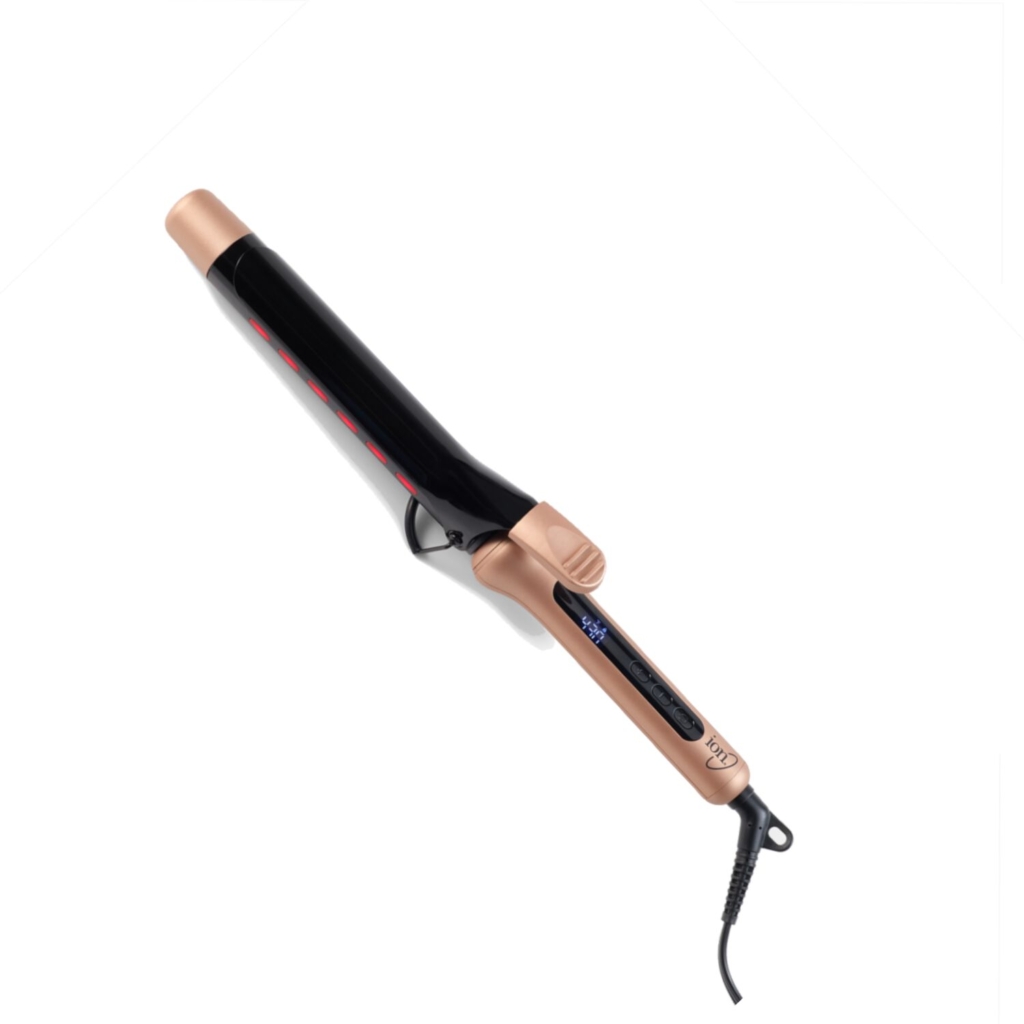
Curling irons are a classic tool for creating beach wave hair, and the Luxe Infrared 1.25″ Curling Iron does the job beautifully. To create beachy waves, wrap medium-sized sections of hair around the barrel and hold for a few seconds. Make sure to alternate the direction of each curl to avoid a too-uniform appearance. Once finished, gently comb through with your fingers and use a texturizing spray to add volume and separation.
6. How to Get Beach Wave Hair With Braids
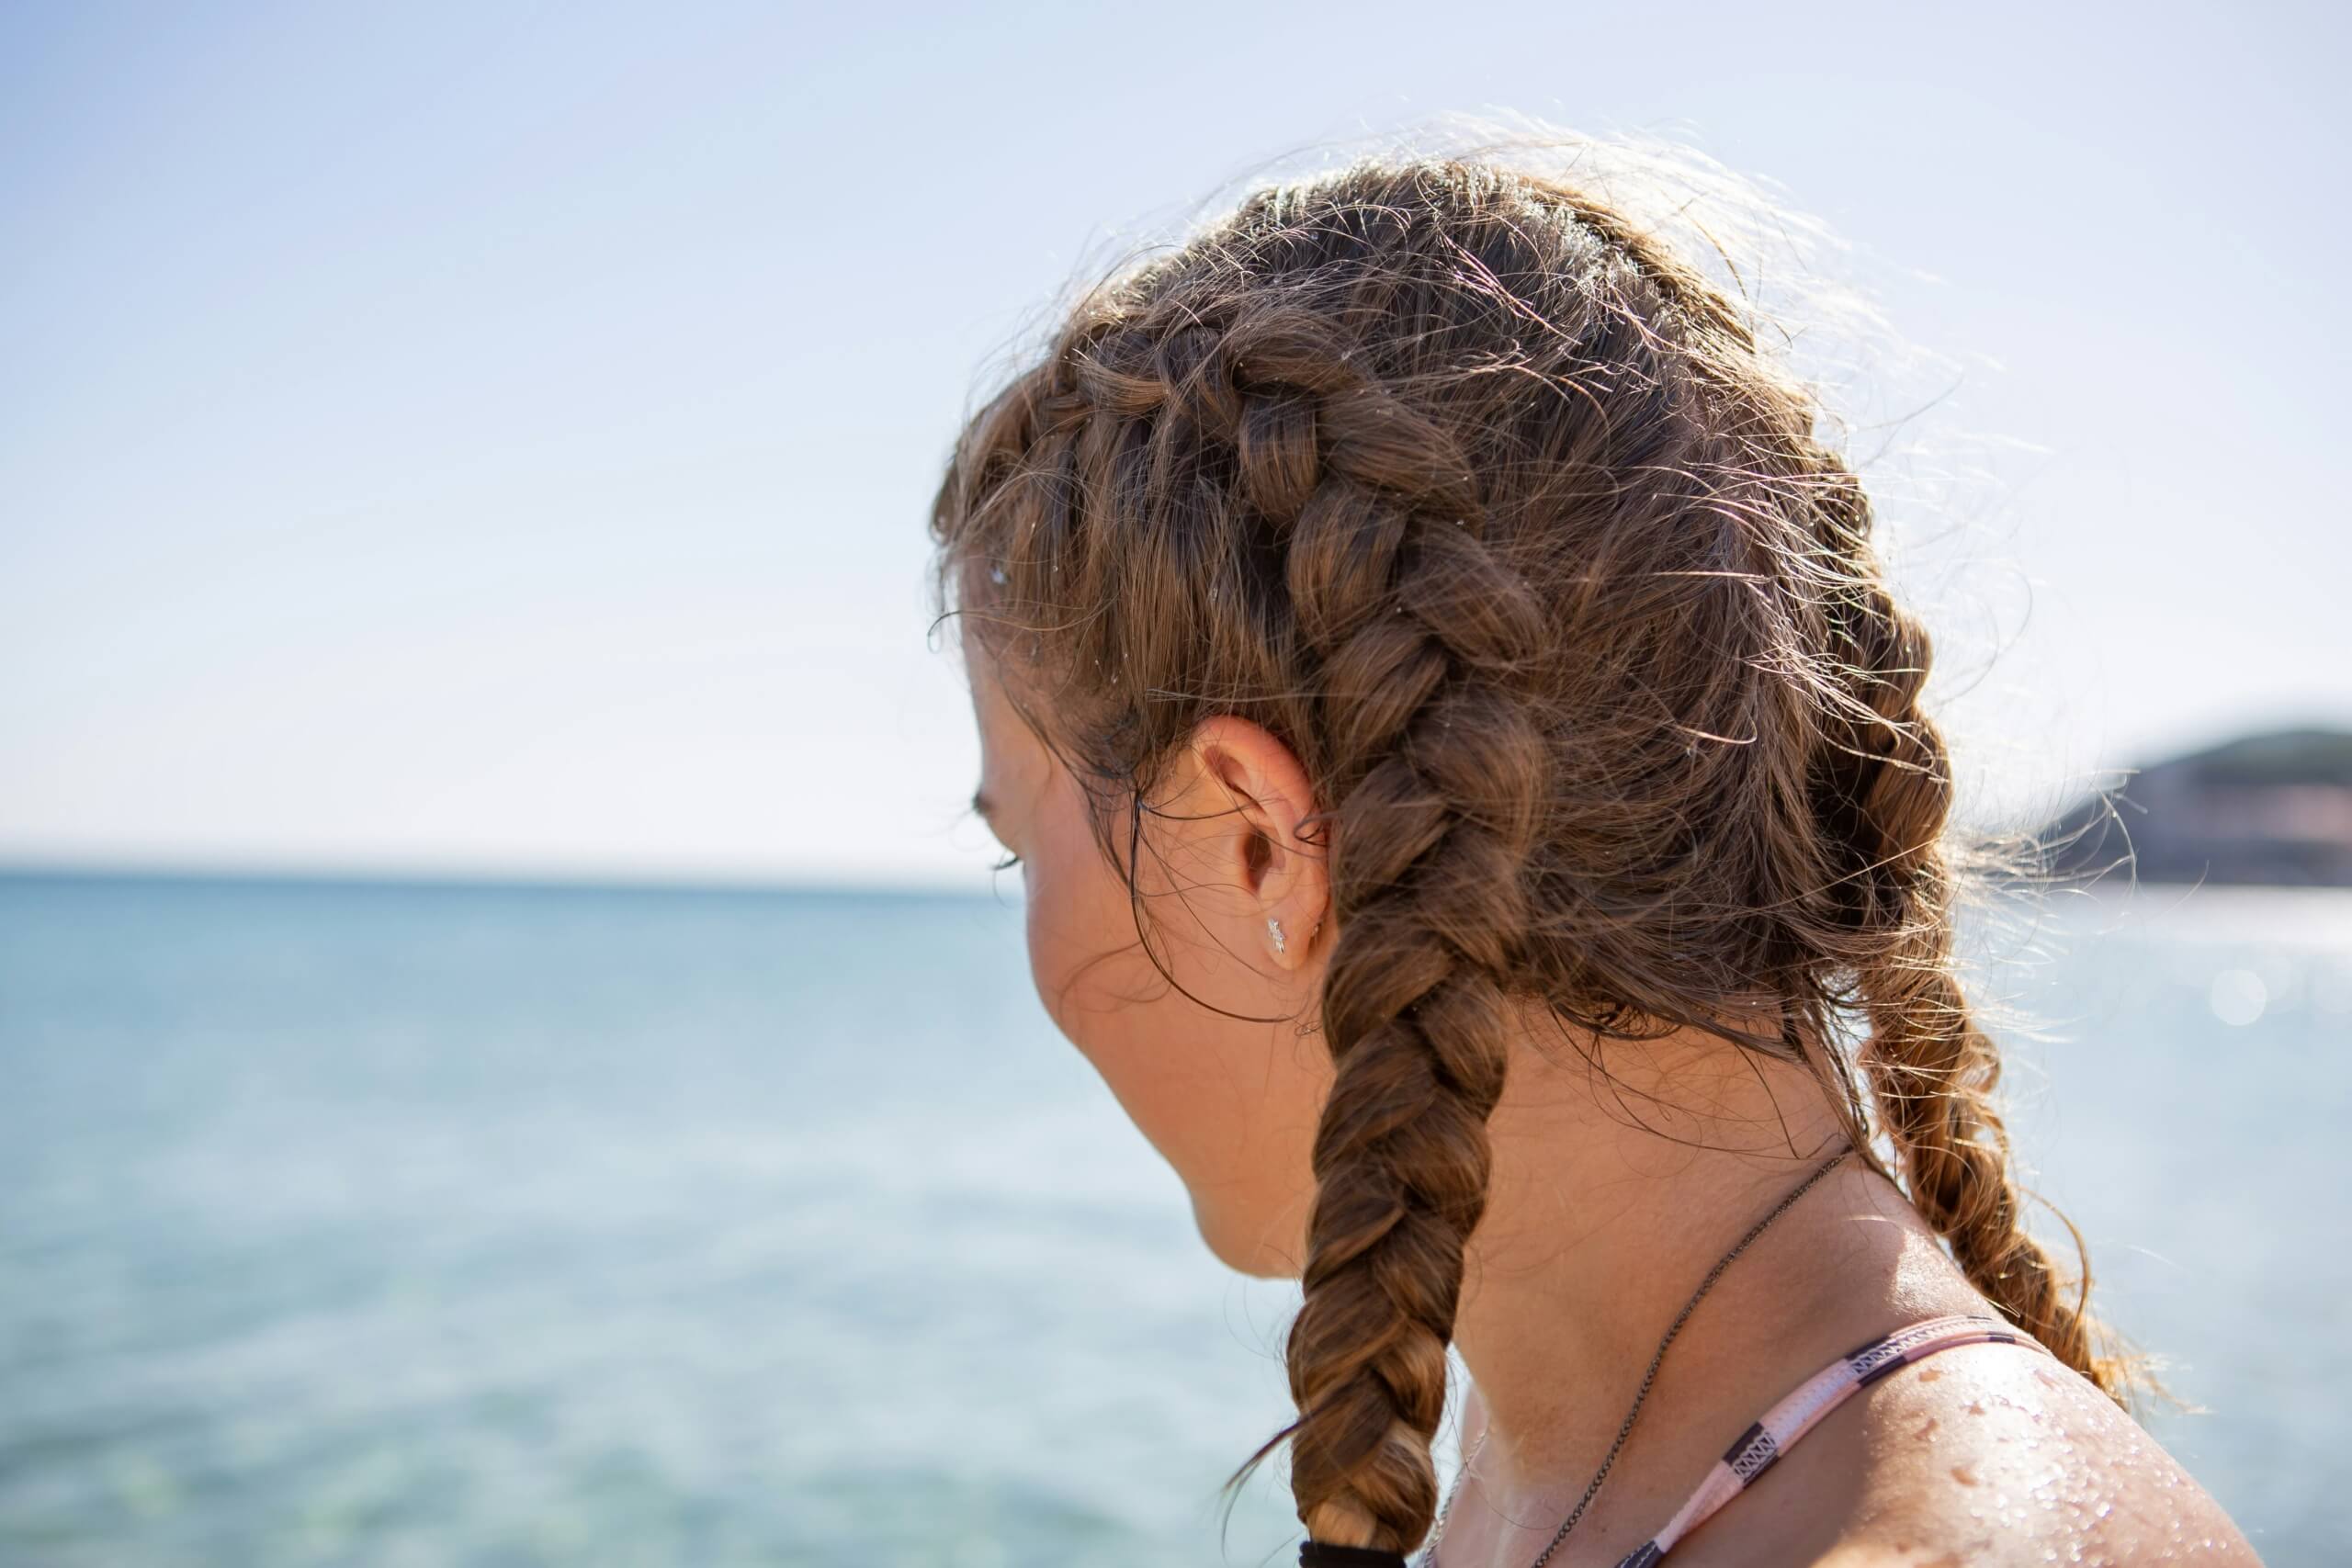
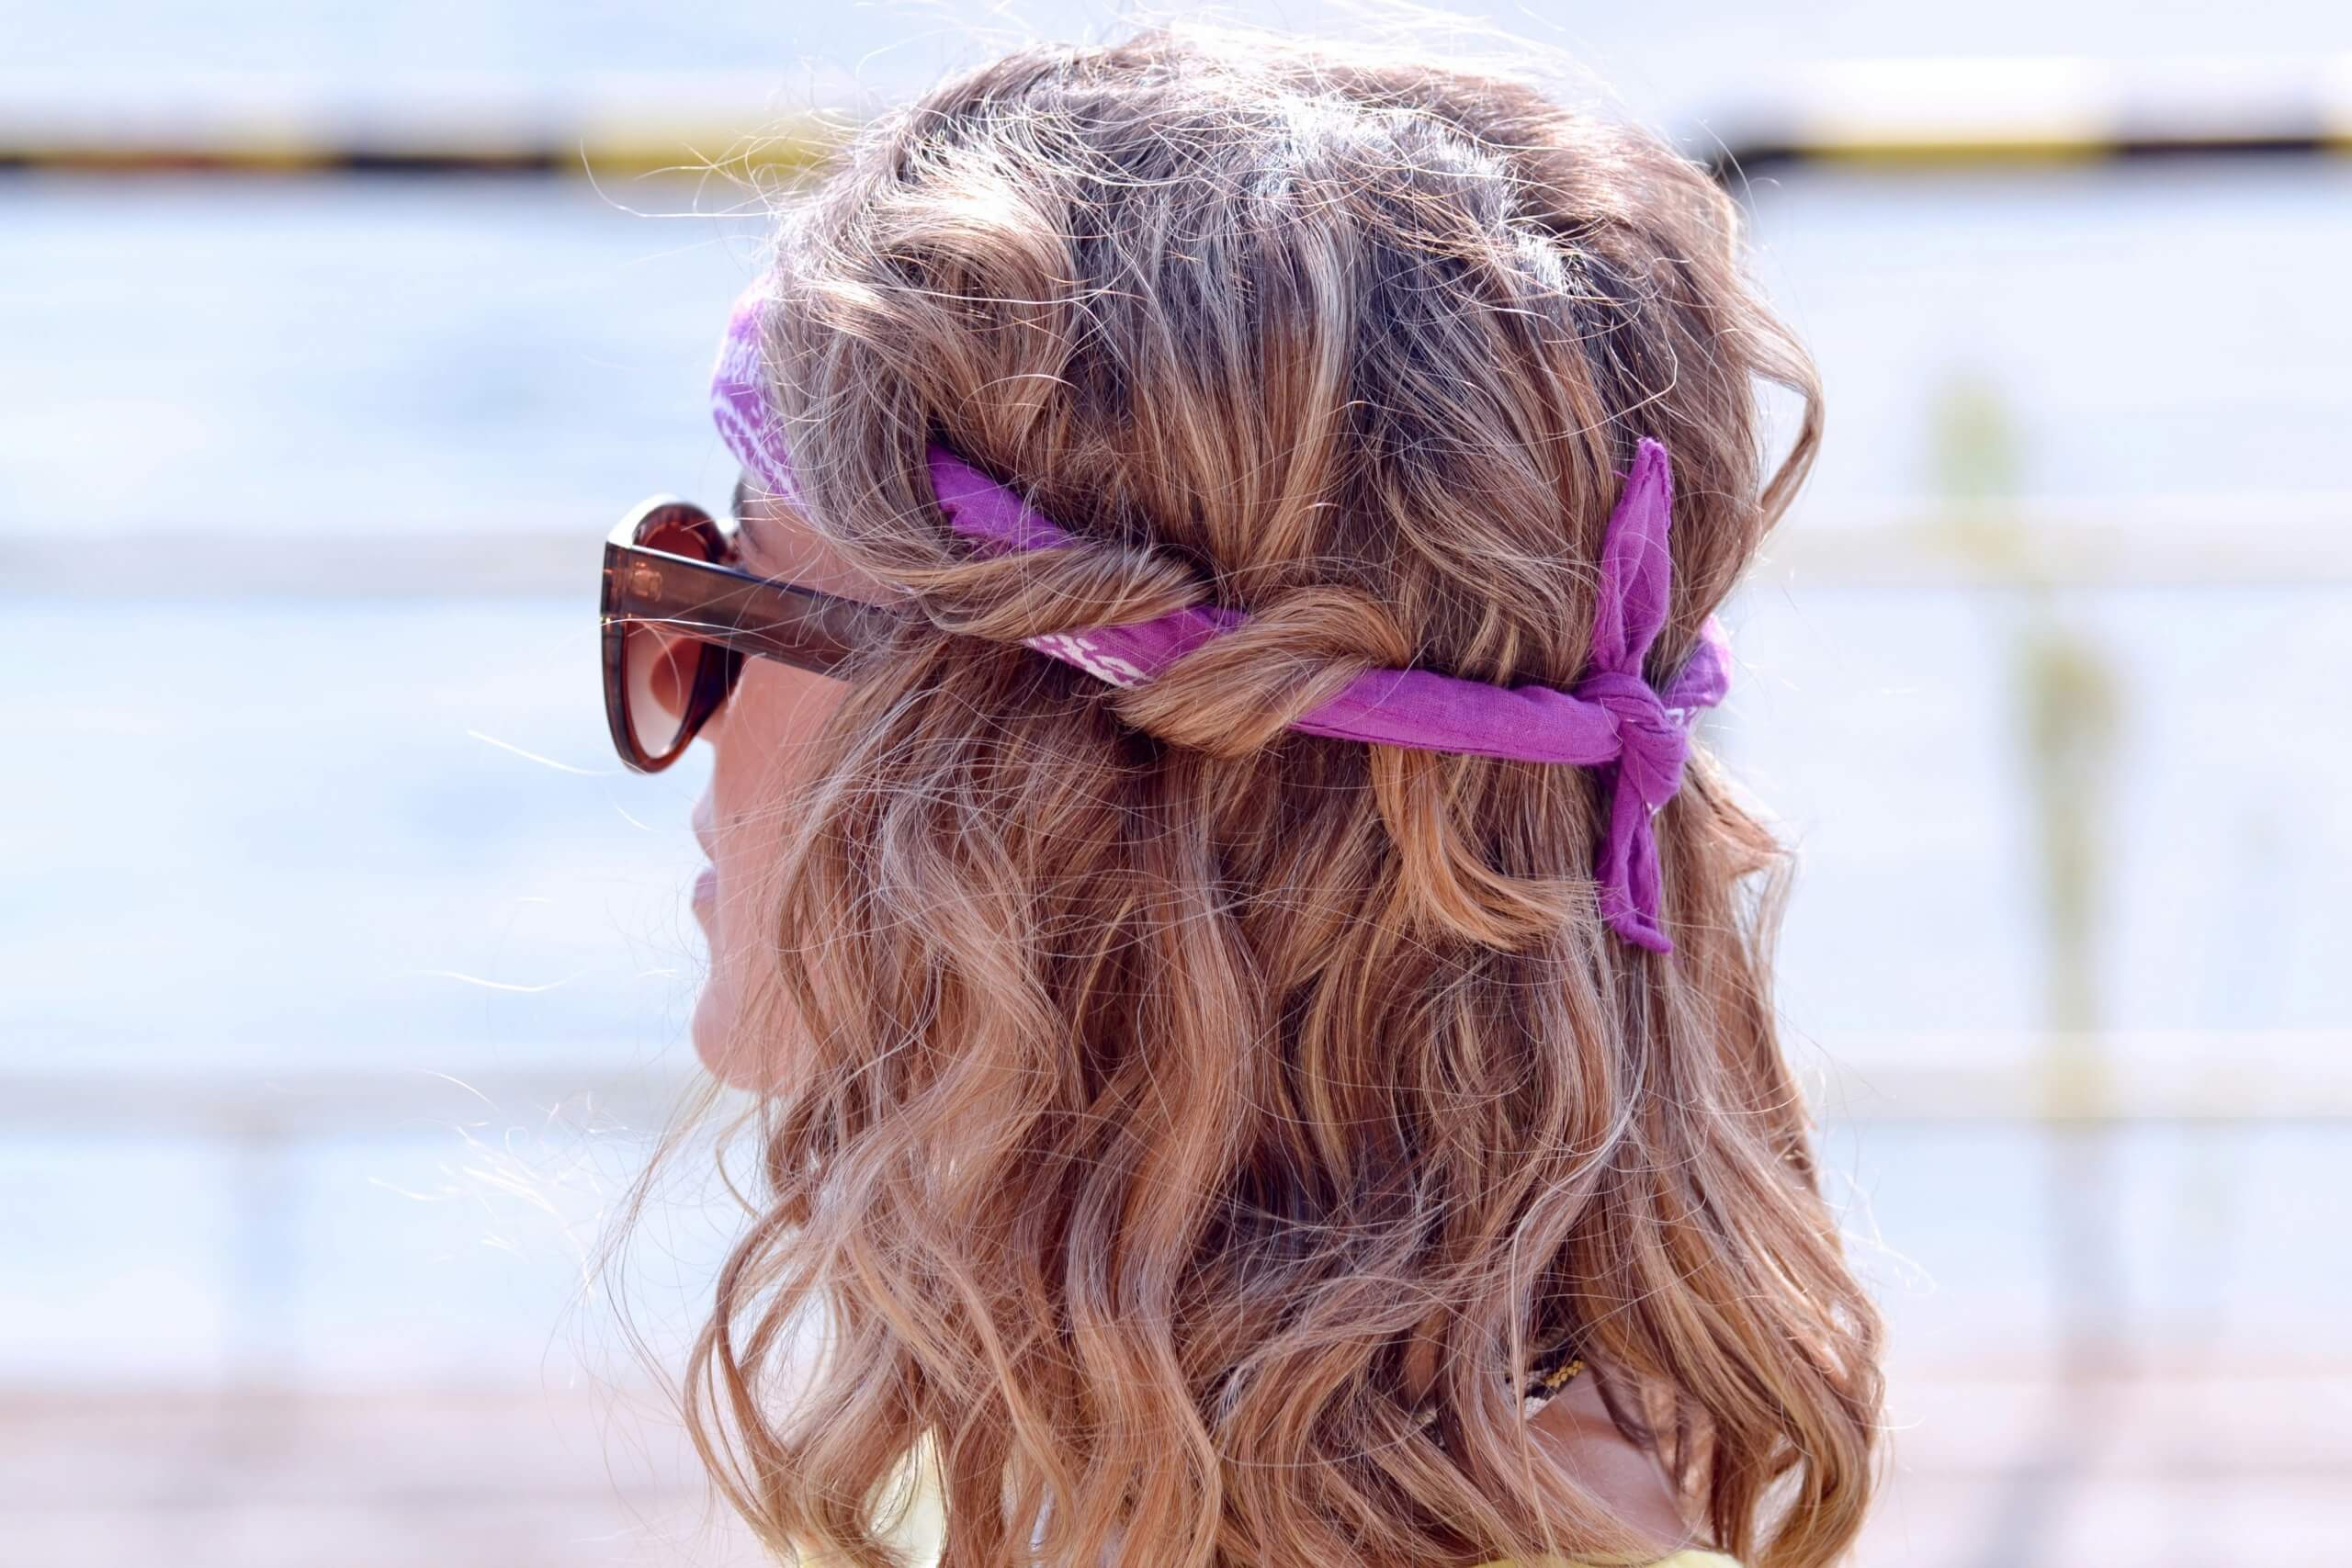
I’ve used this technique since I was a kiddo! Sometimes the easiest techniques are the most effective. Braiding your hair before bed is a heatless way to get beach wave hair with minimal effort. For looser waves, try two or three larger braids. For tighter texture, go with several smaller ones. In the morning, undo the braids, finger comb the hair, and mist lightly with hairspray or sea salt spray to enhance the look. This method is great for busy mornings or vacation styling.
7. How to Get Beach Wave Hair With an Automatic Curler
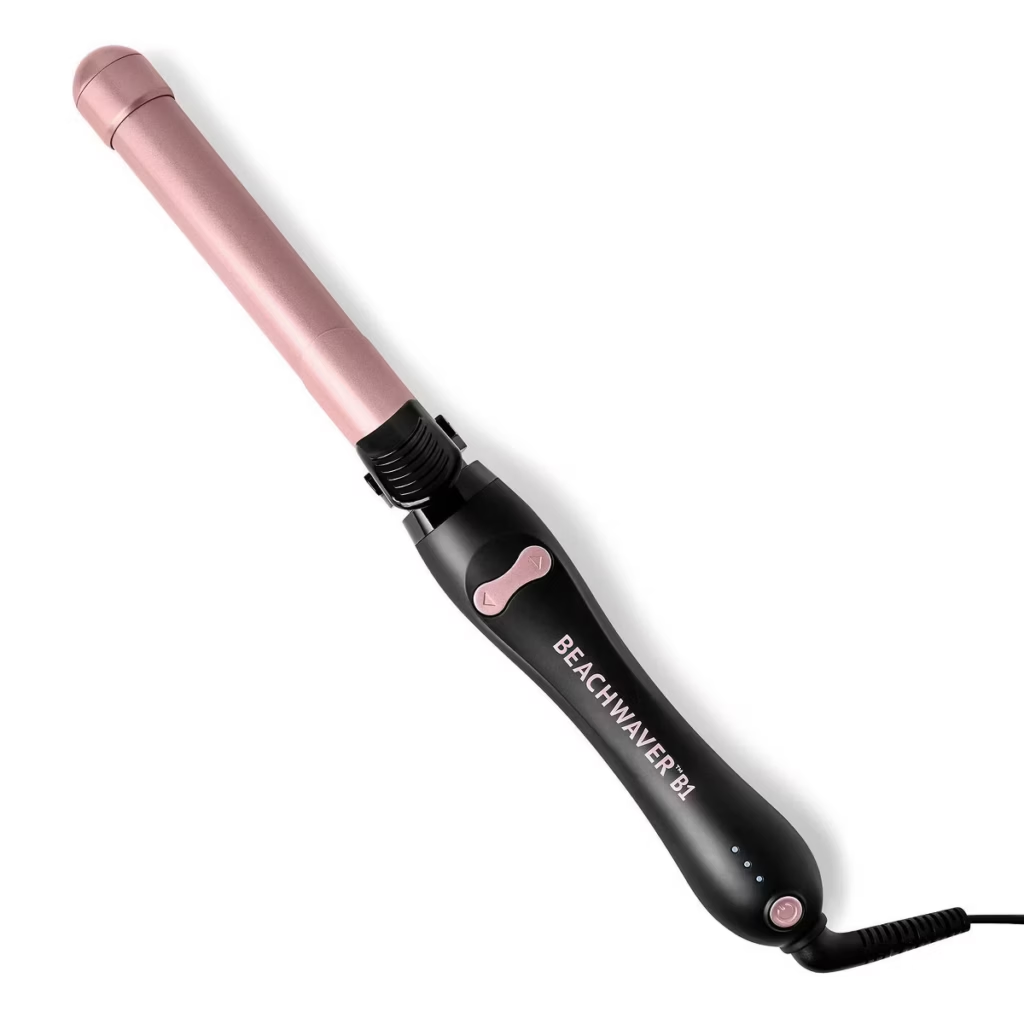
This, by far, is the best hairstyling tool I’ve ever used! Take the stress out of curling your hair with a traditional curling iron and use an automatic rotating curling iron to achieve perfect beach wave hair. section the hair, place a small section into the tool according to its instructions, alternate curl direction where the tool allows it, leave the ends slightly straighter if possible, let everything cool, then loosen the curls with your fingers.
What Size Curling Iron Is Best for Beach Waves?
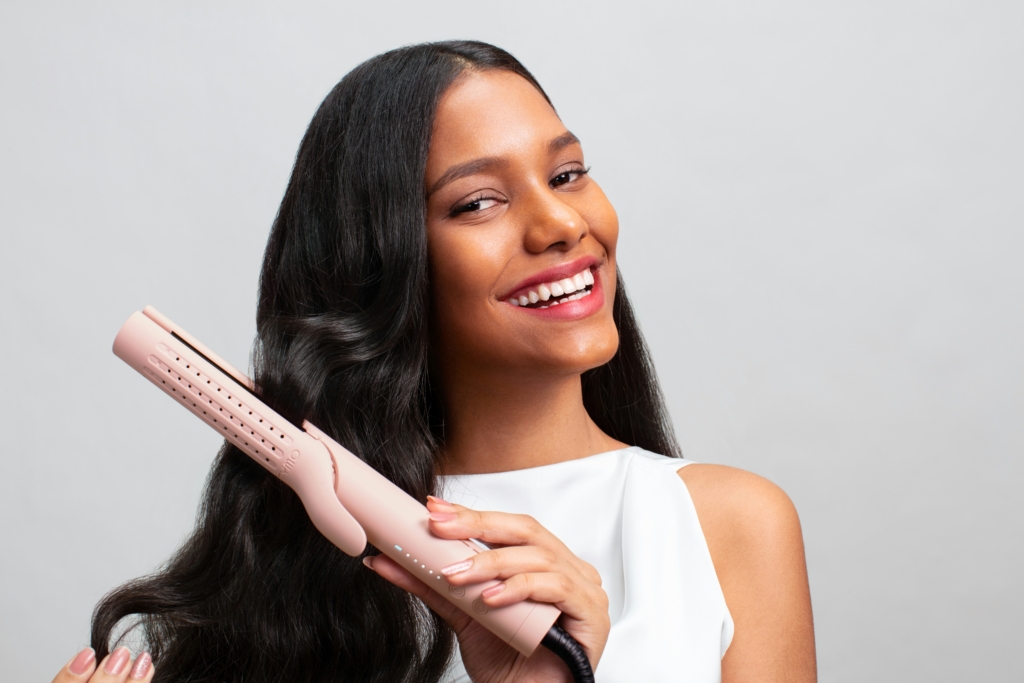
A 1 inch to 1.25 inch curling iron is a versatile choice for creating beach waves, although the best barrel size depends on your hair length and how loose you want the finished waves to look. Smaller barrels generally create tighter, more defined bends, while larger barrels create softer waves with a more relaxed shape.
Hair length matters, too. A very large barrel can be difficult to use on short hair because there isn’t enough length to wrap around it, while longer hair gives you more room to experiment with larger sizes. When you’re learning how to get beach waves, think about the finished texture you want rather than assuming one barrel size works for everyone.
1 Inch Barrel for More Defined Waves
A 1 inch curling iron creates smaller, more defined waves and can be especially useful for short to medium length hair. The tighter starting shape can also be helpful if your hair tends to lose curls quickly, since you can gently loosen the waves once they’ve completely cooled.
For a beachier finish, avoid curling the ends and separate the finished curls with your fingers rather than leaving each section perfectly intact.
1.25 Inch Barrel for Loose Beach Waves
A 1.25 inch barrel is a popular middle ground when you want loose waves without making them so large that they disappear quickly. It works particularly well on medium to long hair and creates enough shape to be noticeable while still giving you that relaxed texture associated with beach waves.
If you’re unsure how to get beach waves with a curling iron, this size is a versatile place to start. Alternate the direction of some sections, leave the ends slightly straighter, and wait until the hair cools before breaking apart the curls.
Larger Barrels for Soft, Relaxed Waves
Barrels larger than 1.25 inches can create bigger, softer bends rather than defined curls. They’re generally best suited to longer hair, where there’s enough length to wrap around the barrel and still create visible movement.
Keep in mind that larger, looser waves may not hold as easily on hair that naturally struggles to maintain a curl. In that case, starting with a slightly smaller barrel and loosening the finished curls may give you the relaxed appearance you want with better staying power.
What Products Make Beach Wave Hair Last Longer?
Creating the wave is just one step; the real magic is in making it last. To keep your beach wave hair looking fresh all day, the right products are key. These options add texture, control frizz, and lock in the shape without weighing your hair down:
- Texturizing sprays: Add grit and volume. Look for sea salt or mineral-infused formulas.
- Flexible hold hairspray: Keeps waves in place while still allowing movement.
- Dry shampoo: Refreshes roots and adds lift if your waves start to fall flat.
- Anti-humidity mist: Protects from frizz and environmental moisture.
- Hair oil or serum (used sparingly): Helps define ends and reduce flyaways.
Apply products based on your hair type and styling method. If your hair is naturally straight and doesn’t hold a wave well, layering a mousse or curl enhancer before styling can also help boost longevity. Finish with a scrunch or finger tousle to shape and set your look.
Common Beach Wave Mistakes to Avoid
Beach waves are supposed to look relaxed and effortless, but a few styling habits can leave them looking more like traditional curls or cause them to fall flat before you’ve made it out the door. If you’ve learned how to get beach waves but can’t quite recreate the loose, tousled finish you’re after, one of these common mistakes could be getting in the way.
Curling Every Section the Same Way
Perfectly uniform curls can look a little too polished when your goal is beachy texture. Try alternating the direction of some sections as you work around your head, particularly through the lengths, to create more natural looking movement.
You don’t need to make the pattern completely random. Keeping the pieces closest to your face directed away from it can create a flattering shape while the alternating sections throughout the rest of your hair keep the finished waves from looking too uniform.
Curling All the Way to the Ends
One of the easiest ways to distinguish beach wave hair from traditional curls is to leave the very ends of your hair a little straighter. Wrapping every section all the way to the tip can create a more defined curl shape instead of the loose bends associated with beach wave hair. Leaving a small portion of the ends out of your curling iron or wand gives the finished style a more relaxed appearance. This small change can make a surprisingly noticeable difference when you’re figuring out how to get beach waves that look natural rather than overly styled.
Using Too Much Styling Product
More product doesn’t automatically mean longer lasting waves when it comes to natural-looking beach wave hair. Heavy creams, oils, and excessive amounts of hairspray can weigh down the hair, causing waves to lose their shape or making the finished style feel stiff. Start with a small amount of product and add more only where it’s needed. Fine hair generally benefits from particularly lightweight formulas, while thicker or frizz prone hair may need a little more moisture and control.
Touching Your Waves Before They Cool
It can be tempting to separate a curl as soon as it comes off the styling tool, but give it a little time first to get the best beach wave hair look. Hair can hold its new shape better when it’s allowed to cool before you brush, comb, or run your fingers through it. Once everything has cooled, gently separate the curls to soften them into waves. This is also when you can add texture spray or a light finishing product to create more separation and hold for your beach wave hair.
Using the Wrong Heat Setting
Higher heat isn’t always better, especially when a lower temperature can create the result you want. Excessive heat can increase the risk of damage, while a temperature that’s too low for your particular hair may require repeated passes over the same section.
Start with a lower setting and increase the temperature only if your hair isn’t responding. Hair texture, thickness, condition, and the specific styling tool can all affect the amount of heat you need, so there isn’t one temperature that’s right for everyone.
Beach Wave Hair That Stays Beautiful All Day
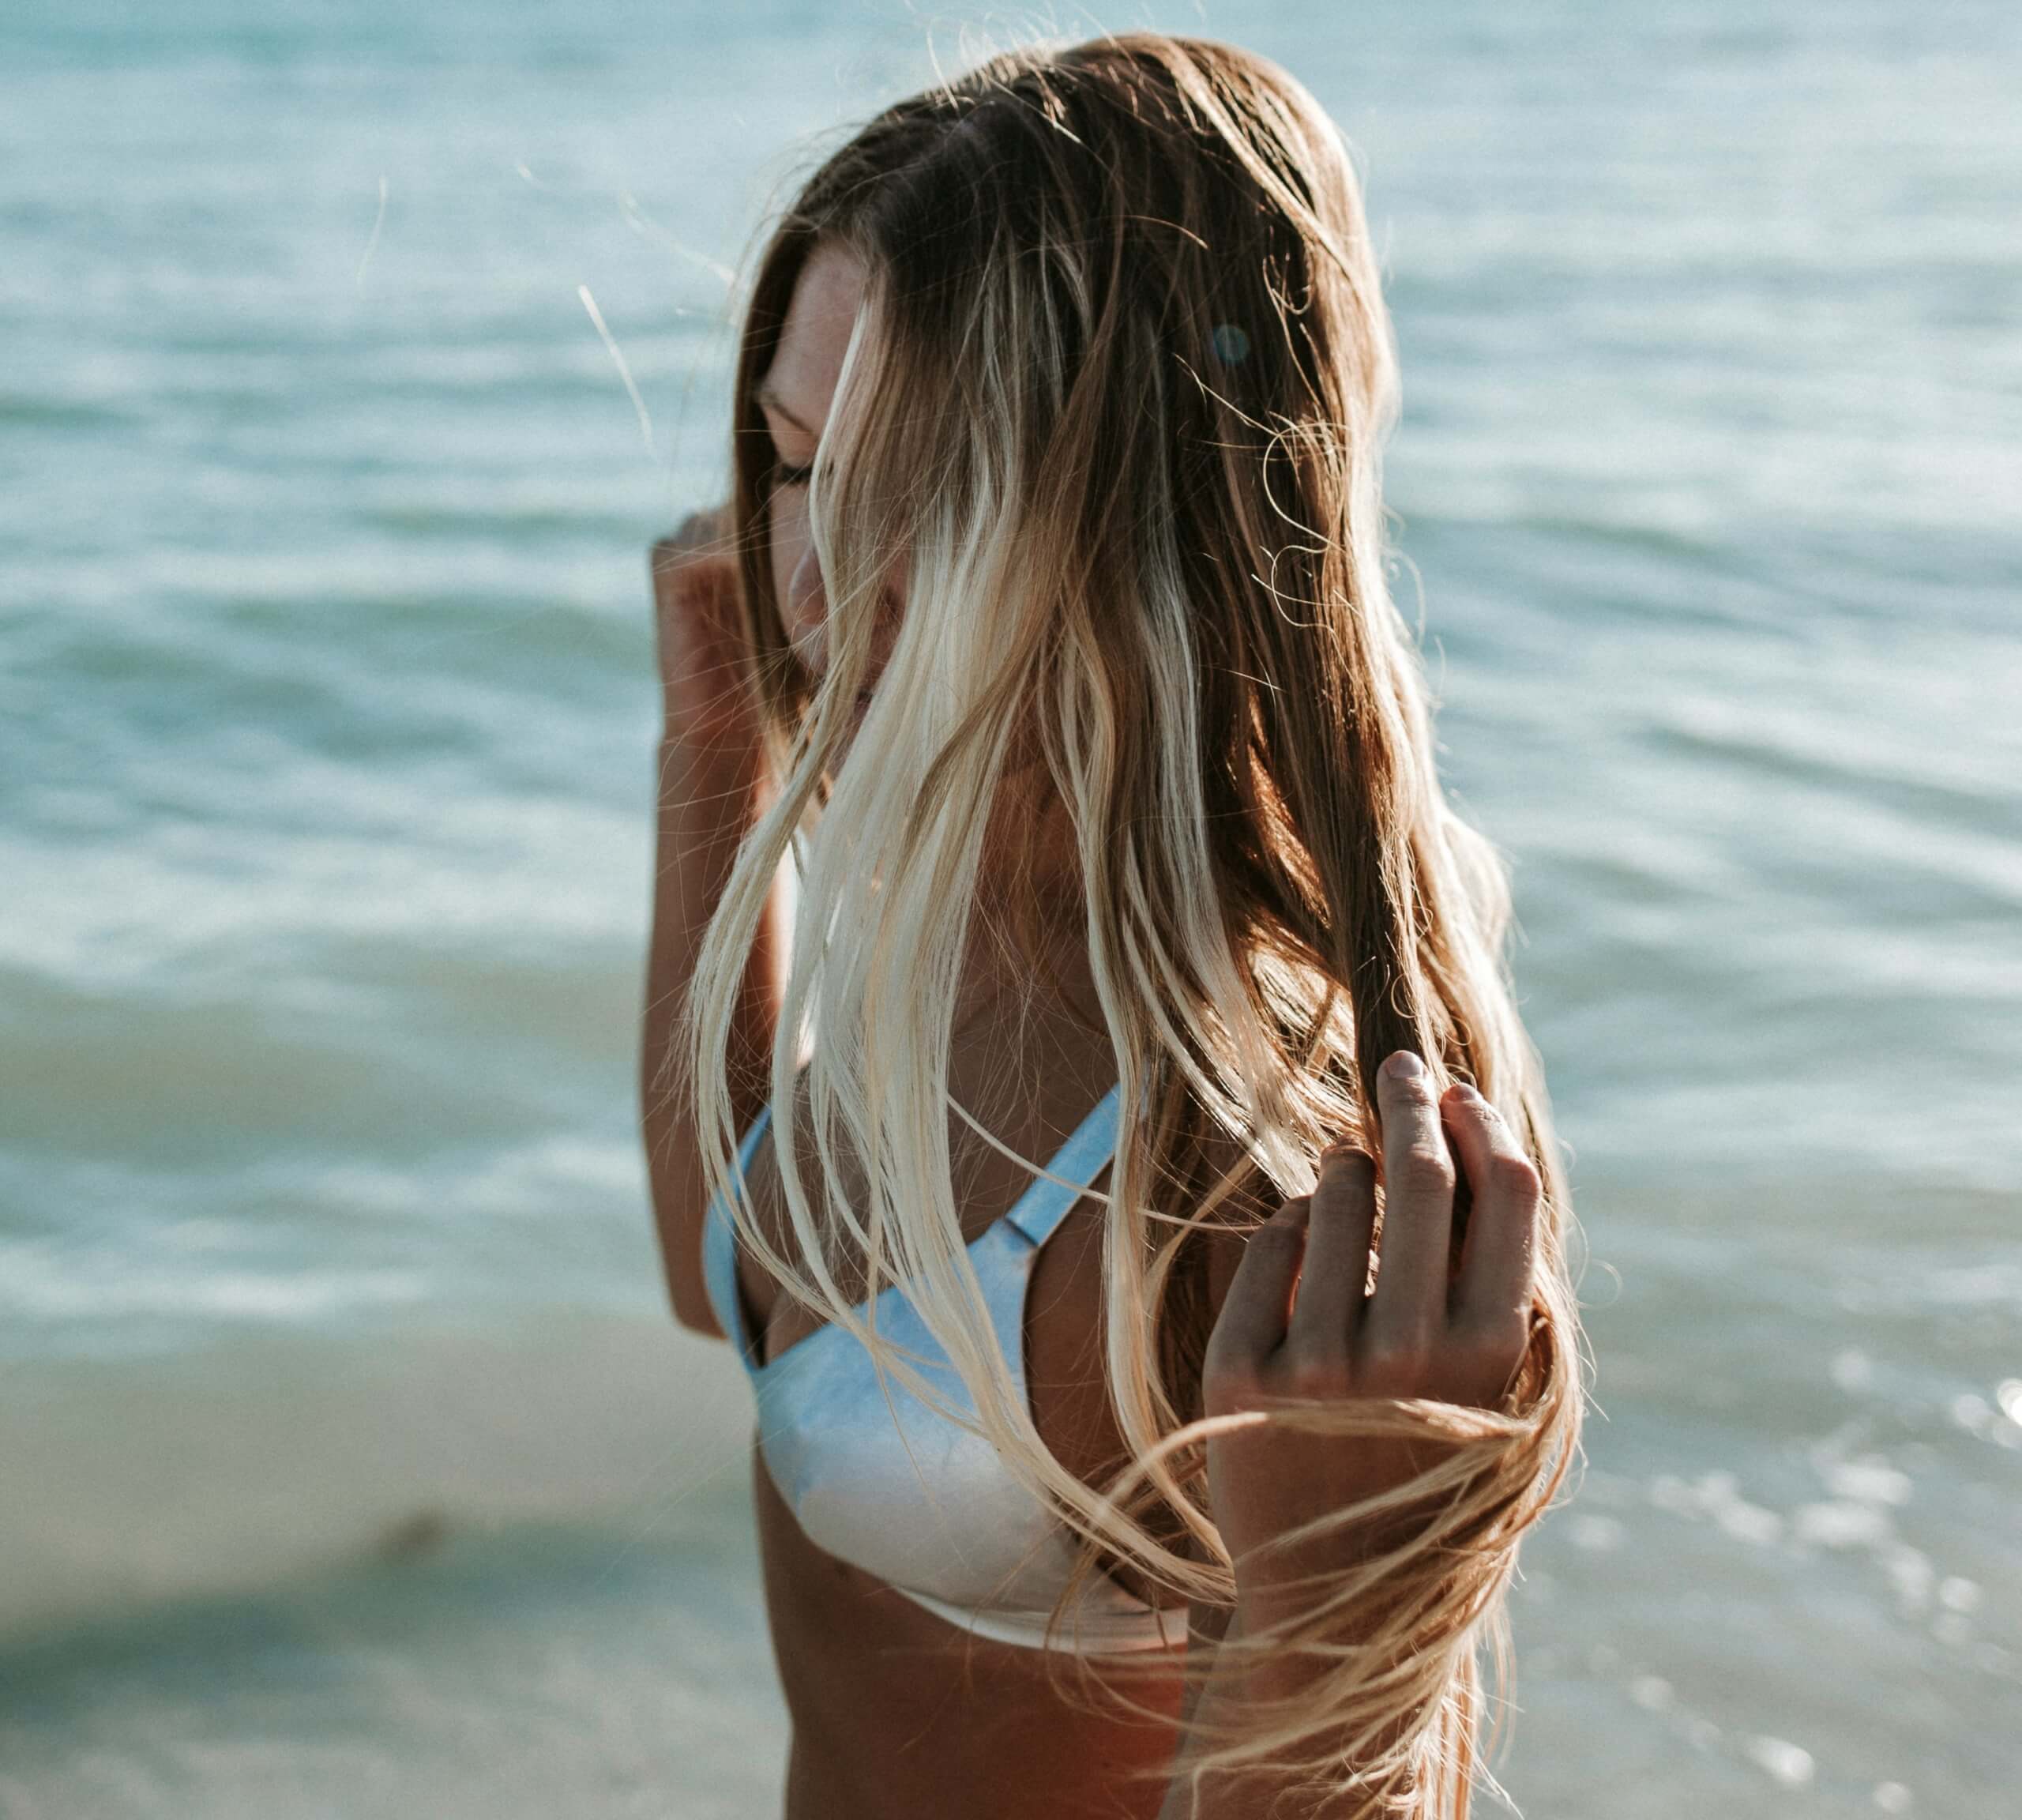
Try your favorite method for getting beach wave hair, because finding the right beach hair wave technique can make those effortless looking styling days much easier to recreate. You don’t need naturally wavy hair or a super complicated routine to get there. Once you know how to get beach waves for your particular length and texture, you can spend less time fighting with your hair and more time actually enjoying the finished look.
Pay attention to the little details as you experiment with trying out beach wave hair. Leaving the ends straighter can make curls look more relaxed, letting heated sections cool can help preserve their shape, and choosing the right barrel size can completely change the finished texture. You may even find that the way you prefer to get beach waves changes depending on the day, with a curling iron offering more control when you’re getting ready quickly and a heatless method making more sense when you can plan ahead.
Our advice? Keep the techniques for beach wave hair that work for your hair and just forget the ones that don’t. Beach waves are meant to have movement, texture, and a little imperfection, which leaves plenty of room to make the style your own. Once you’ve figured out how to get beach waves with the right combination of technique, prep, and finishing touches, that breezy texture becomes much easier to recreate whenever you want it, however you want!
Read Next: Best UPF Clothing for Stylish Sun Protection This Summer