We hope you love the products we recommend! Just so you know, Trendy Mami may collect a share of sales or other compensations from the links on this page.
–
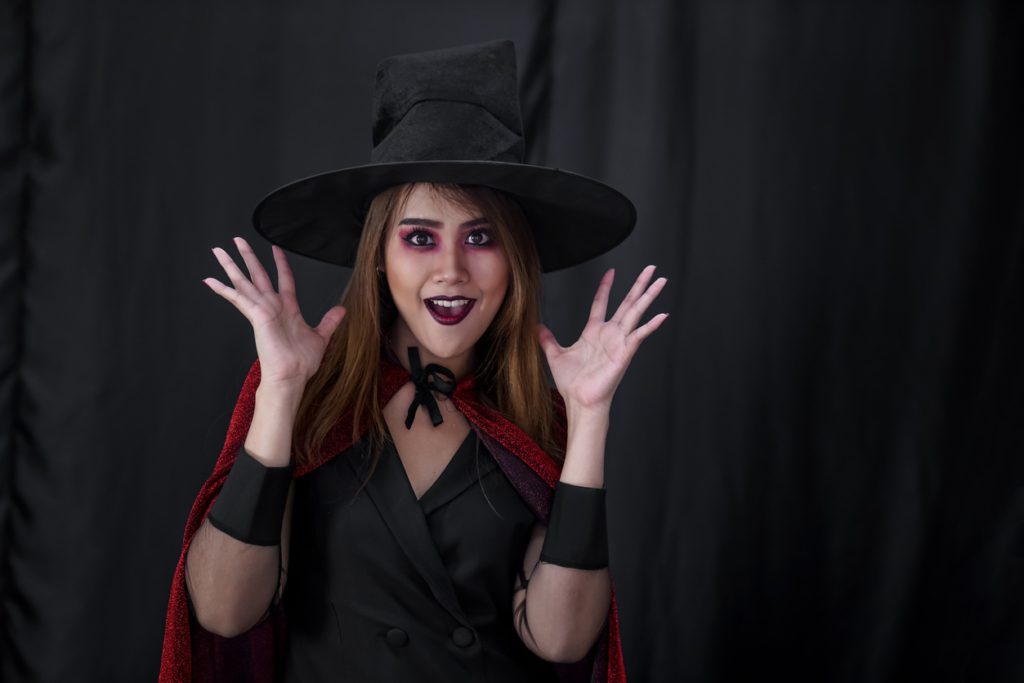
A spooky witch is one of the most iconic and timeless costumes out there. However, knowing how to do witch face paint can be a challenge, especially if you’re not comfortable with makeup. But don’t worry – you don’t have to be a professional artist to turn yourself into a witch! It’s easy to capture that spooky and sinister look with just a few simple products.
If you’ve ever wanted to know how to do witch face paint, then you’re in the right place. In just 5 easy steps, we’ll help you transform into the ultimate scary witch just in time for your party!
8 Products You Need To Do Witch Face Paint
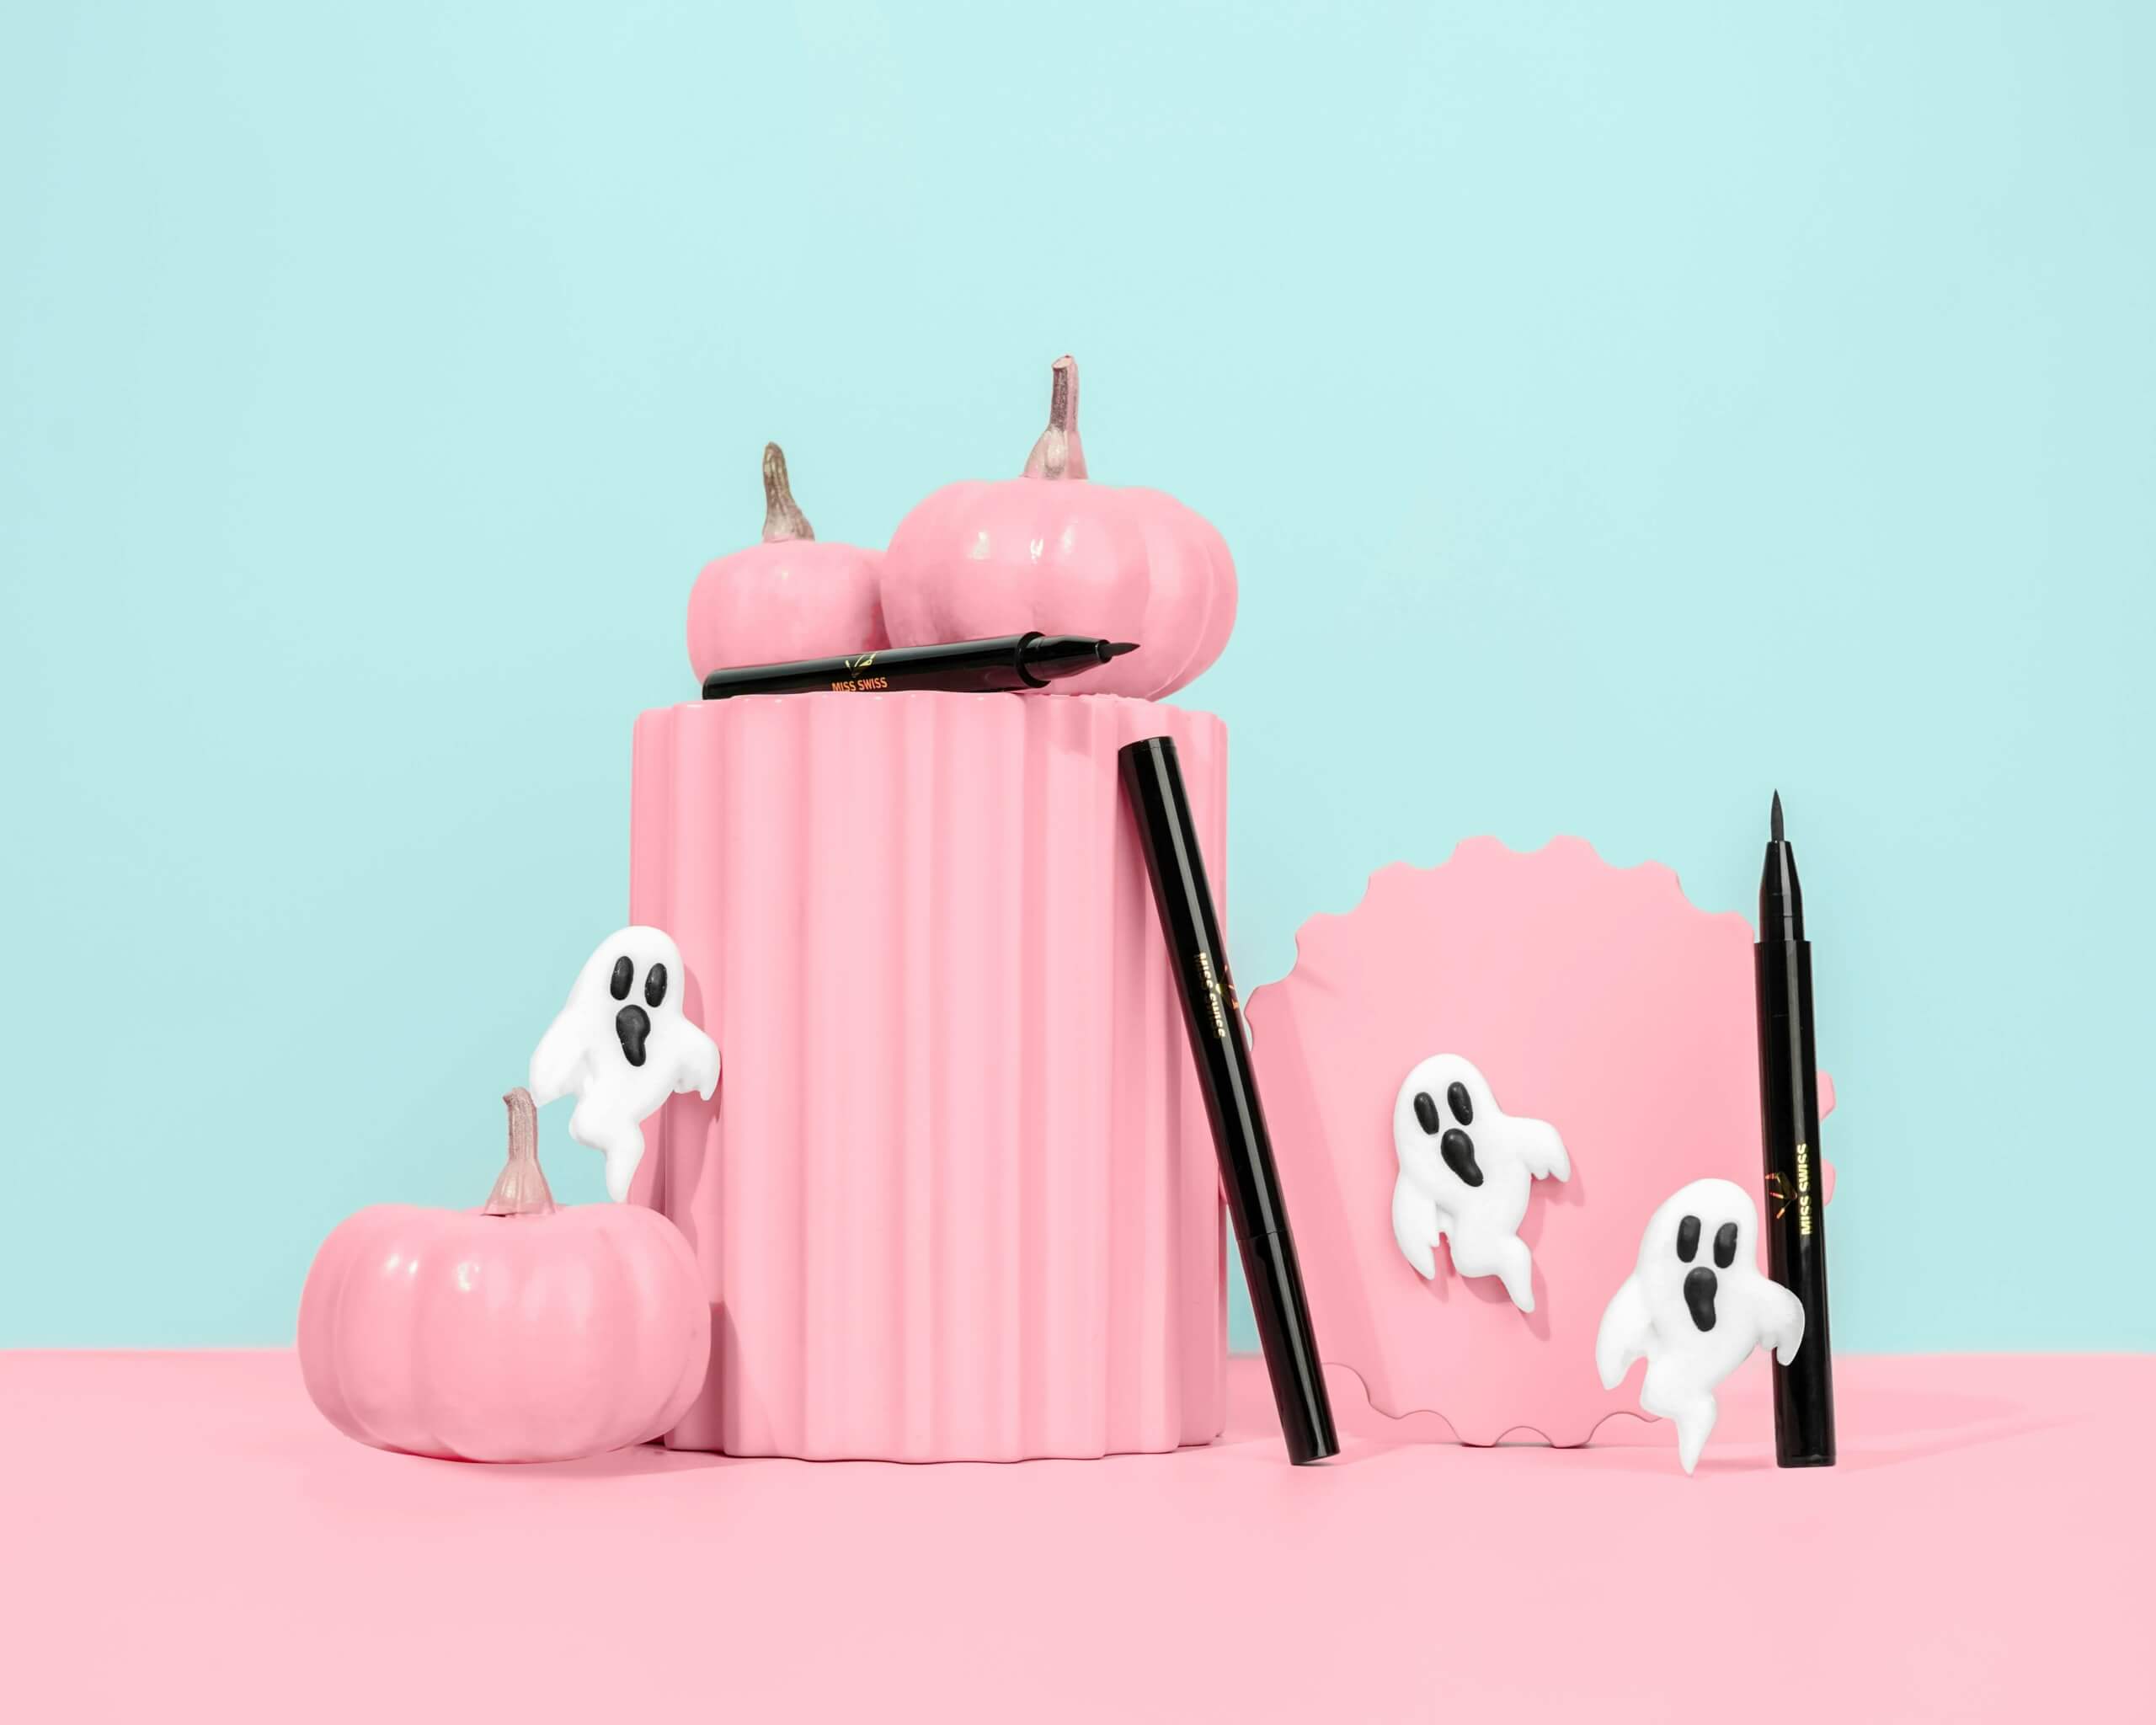
You’ll need a few products to achieve the best witch face paint look:
- Makeup primer: Using a primer underneath your witch face paint will help the makeup stay in place for longer. It also protects against melting or smudging, which can happen if your skin gets sweaty or wet.
- Face paint: Colored face paint is a must if you want to recreate a traditional witch look! Look for green and black face paints, but don’t be afraid to try different colors as well. White is also good if you want your witch to have a pale complexion!
- Eye shadow: For more depth and dimension, consider colored eye shadows. Not only can they be used on your eyes, but they also work for hollowing cheekbones and creating shadows.
- Eyeliner or eye pencil: If you want defined witchy eyes, brows, and wrinkles, pick up some eyeliner or an eye pencil to add detail.
- Lipstick: A dark lipstick can add another level of spookiness to your look. Black is always good, but a dark red or even a green will work!
- Witchy accessories: Don’t forget that the smallest details can make your costume more believable! Fake warts or liquid latex can add texture and some realism to your face paint.
- Setting powder: Once you have completed your witch face paint, finish off the look with a setting spray. This will seal the makeup so it lasts throughout the whole day and night. Bonus points if it’s a waterproof one!
- Makeup brushes and sponges: The right tools will help you apply your makeup evenly. Sponges are great for face paint, while brushes can be used for eye shadow and smudging eyeliner and pencil.
How to Do Witch Face Paint Step By Step
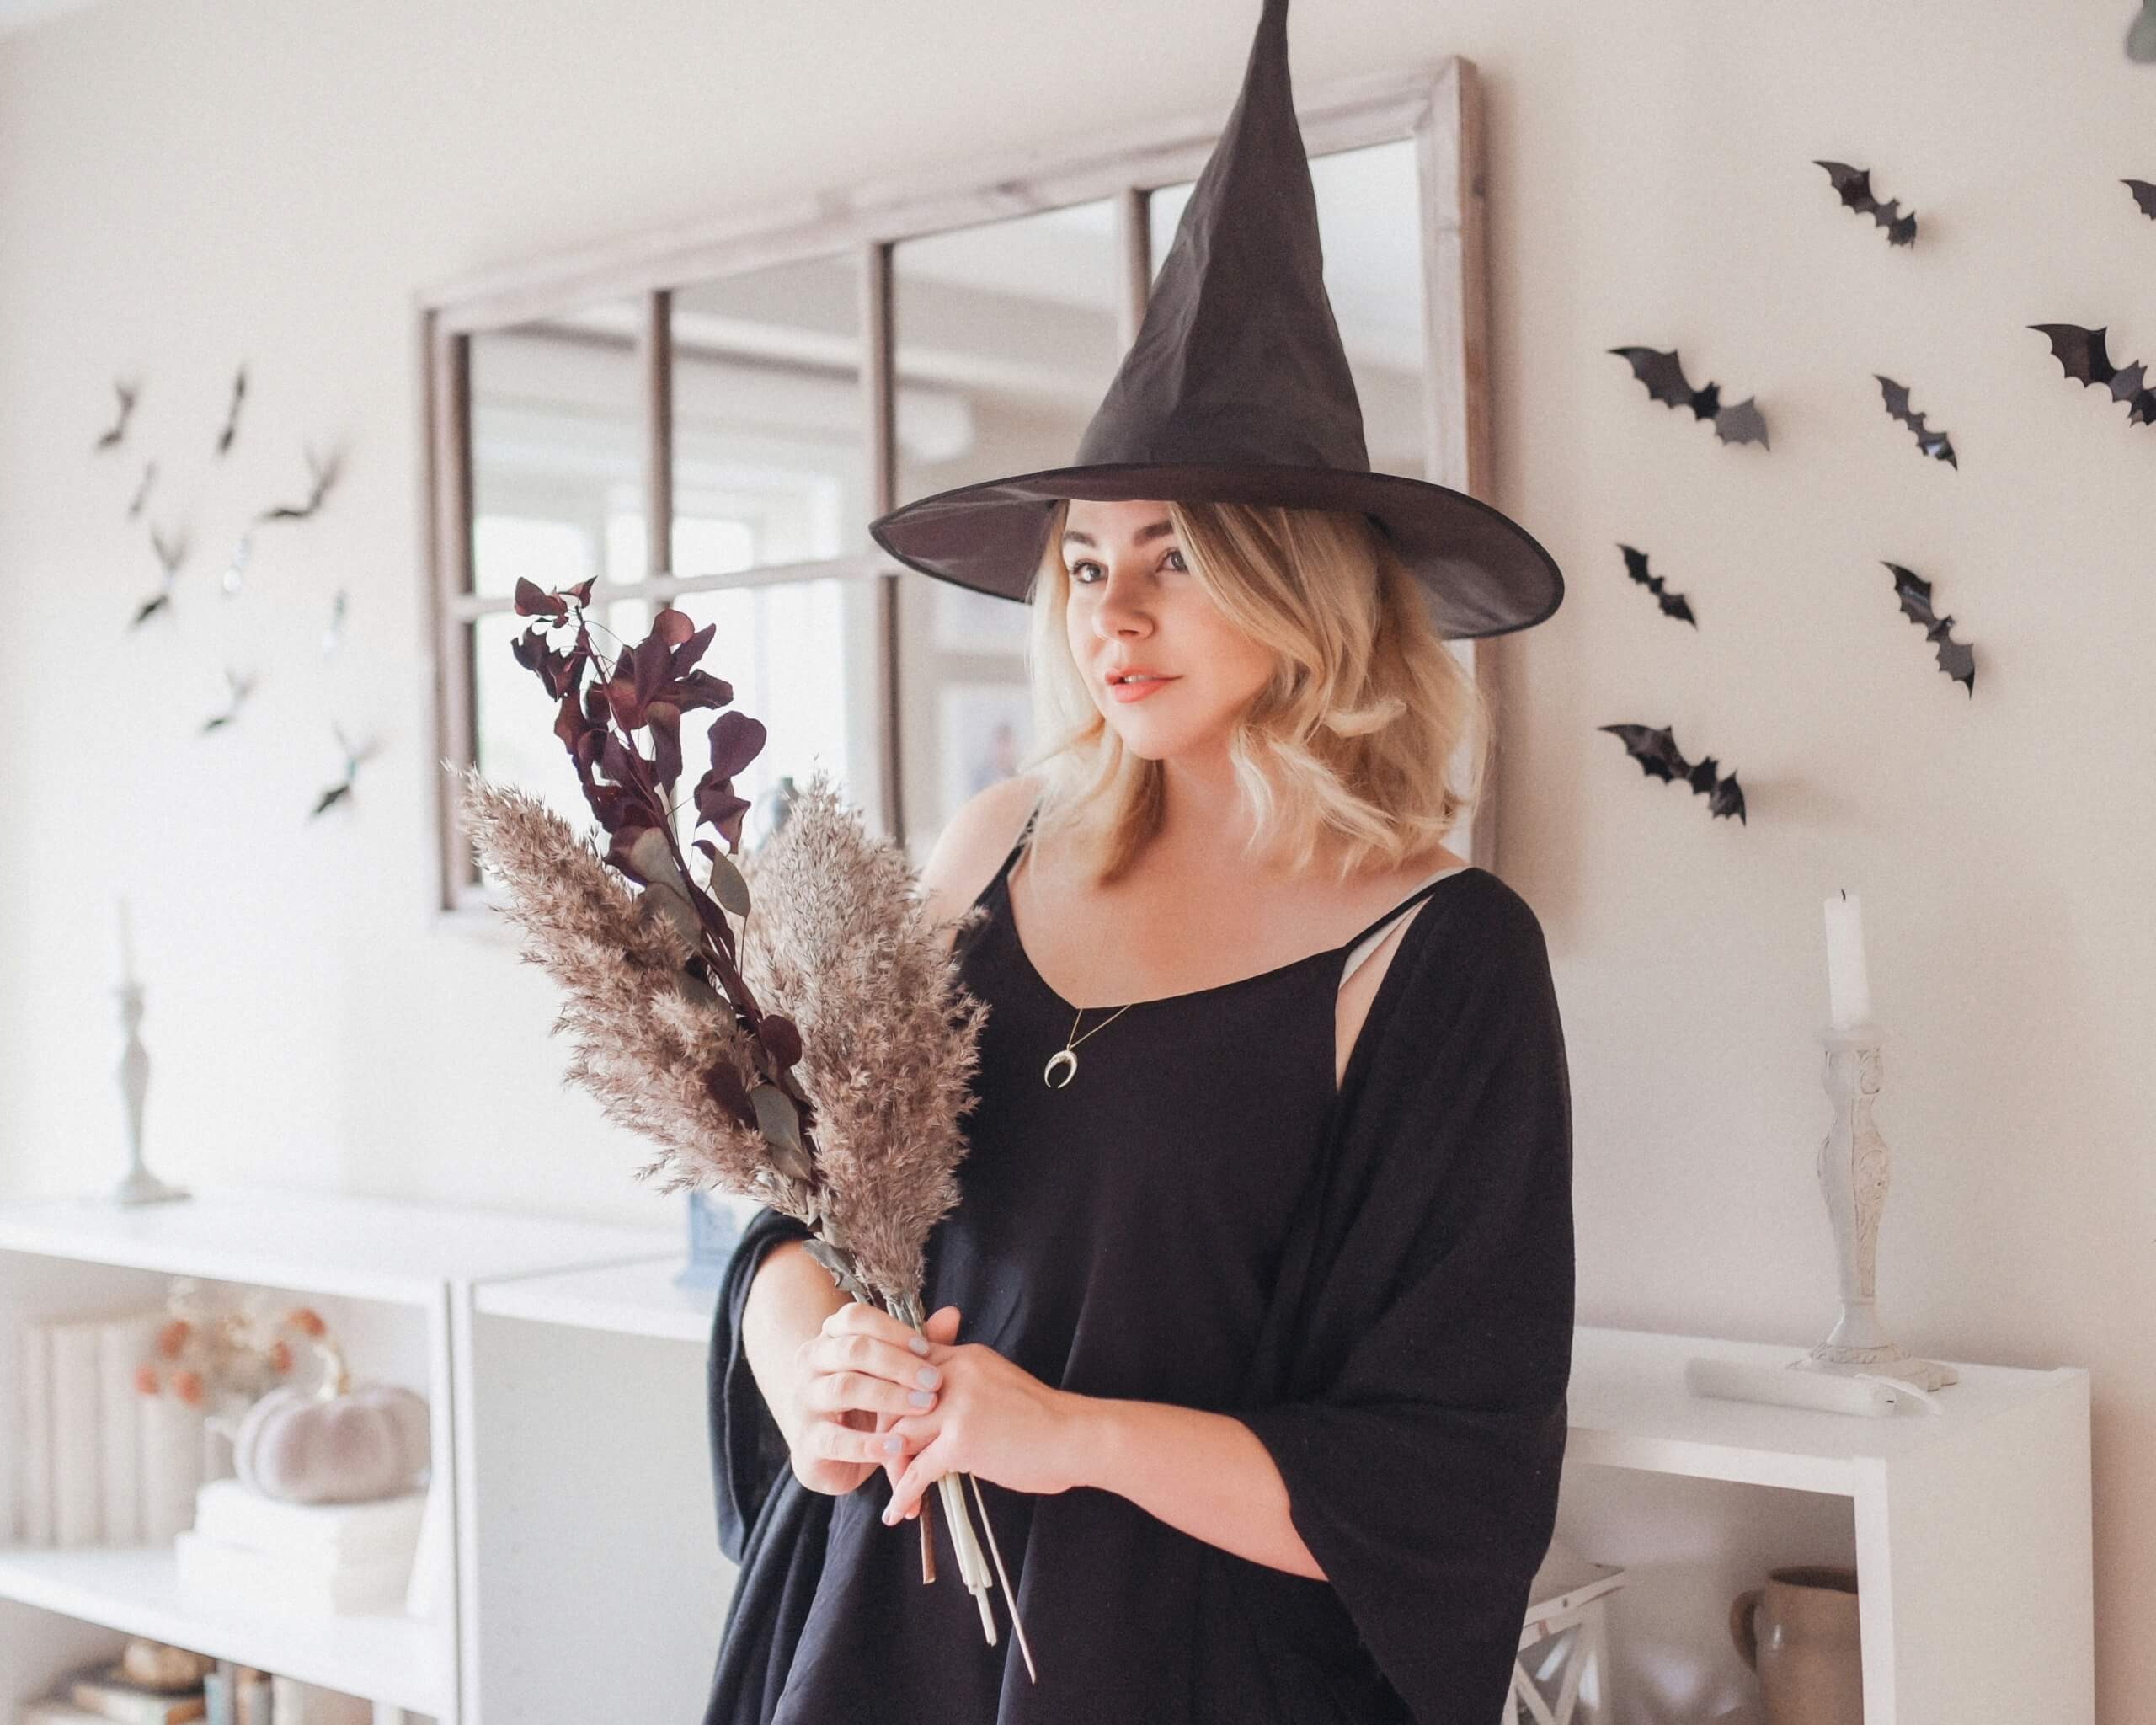
If you’ve never used face paint or makeup before, knowing how to do witch face paint may seem like a daunting task. But we’ve laid out each step to help you achieve that extra spooky look for your upcoming party or event!
Step 1: Prep Your Skin and Add Face Paint
Before you add any makeup, it’s crucial that you prep your skin beforehand. Add a thin layer of makeup primer to your freshly washed and moisturized face. Having a base layer will prevent smudging and ensure your look stays perfect for as long as possible.
Now is the fun part! Using the sponge, apply the face paint evenly across the face. Make sure to cover the neck and ears (while avoiding getting too close to your eyes). As we mentioned earlier, green is an iconic color for witches, but you can also choose white or a different color if you want to stand out.
Step 2: Add Contour and Shadows
Once your base layer of face paint is finished, it’s time to contour and shadow. Take your eye shadow palette and use the dark green or purple to add dimension to the eyes. You can add color to the eyelid as well as the under-eye area.
Feel free to also add shadow to the sides of your nose and cheekbones to sharpen the face. You can also add a darker shade to the temples and around the hairline for an even more dramatic look.
Step 3: Finish Your Eyes and Brows
Now go in with an eyeliner or eye pencil to define your eyes and brows. We highly recommend using black, as it enhances the eyes and brows while also making things more sinister. For your eyes, you can also smudge the edges or add a wing for a smoky witch aesthetic. You can also use the same pencil or liner to draw in wrinkles or fine lines.
Step 4: Add Witchy Details
By now, you should have a nearly complete witch face paint look. But if you want to make things look more realistic, you should add some finishing details. After all, adding texture to the skin can make you look more believable and more eye-catching.
Liquid latex will add a three-dimensional aspect to the face paint, which looks more realistic and has paint-on wrinkles. So if you are going for that aged and weathered look, add a thin layer of liquid latex to different parts of your face.
Warts are also stereotypical for witches. Placing one or two around your nose or cheek will make your skin look less polished and more evil!
Step 5: Set Your Look with Setting Spray
When you’re satisfied with your look (don’t forget the lipstick!), you’ll want to seal everything with a setting spray. Similar to a primer, a setting spray will lock your face paint in place like a protective top coat. Just remember to also invest in a good makeup remover to help you go back to your normal human self after the evening is over!
Witch Face Paint = The Easiest Halloween Makeover Ever
Whether you’re going out for Halloween or throwing a costume party, knowing how to do witch face paint can come in handy. Dressing up as a witch, either for a fun a mom and daughter matching costume moment or for a solo night of festivities, is just one of many fun and easy DIY Halloween costume and makeup ideas. With just a little face paint and some creativity, you can turn yourself into the wickedest witch out there!
The best part is how customizable it can be. From a spooky, green-skinned classic witch to a glamorous, glittery version, witch face paint can be as simple or as detailed as you want. Add dramatic eyeliner, bold lips, or even special effects like scars and warts for an extra eerie vibe. By starting with the five easy steps, you have a solid foundation you can personalize to fit your style and comfort level.
Now that you know how to do witch face paint, you are ready to impress on Halloween night. This simple makeover requires minimal supplies but delivers maximum impact, letting you step into character without the stress. Grab your brushes, get creative, and have fun with it, because the wickedest witch at the party is about to be you.

