We hope you love the products we recommend! Just so you know, Trendy Mami may collect a share of sales or other compensations from the links on this page.
–
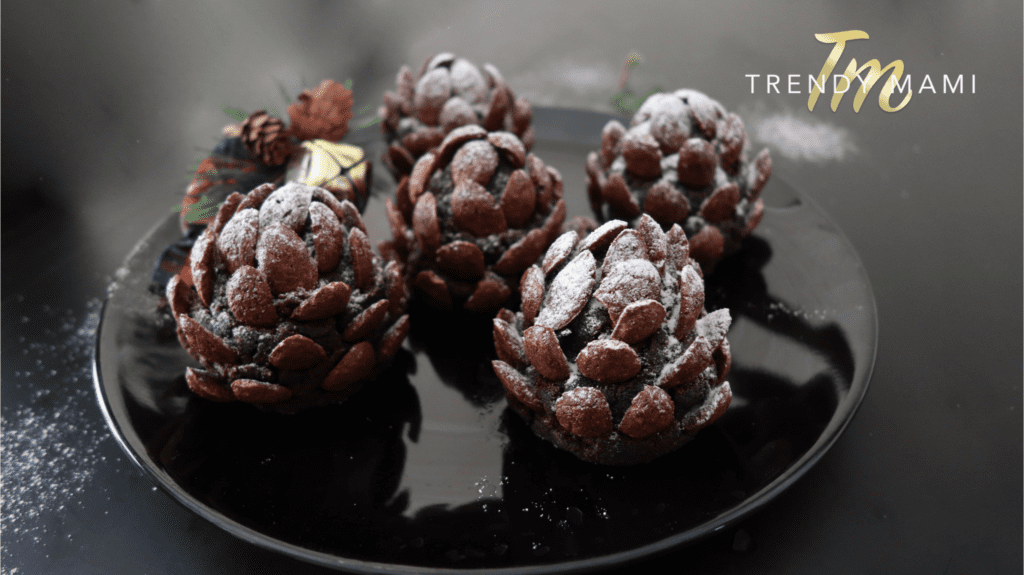
Impress all the guests at your holiday party or dinner with this Christmas pinecone dessert! This chocolatey sweet treat brings the winter festivities indoors. Cute, tasty, and easy to make, these pinecones look just like the real thing. They’re even topped with a frost of snow, perfect for the holiday season!
For this recipe, we will be using a homemade chocolate cake as well as a homemade hazelnut spread. Of course, you can always use store bought ingredients if you’re short on time. However, we find that the homemade cake and hazelnut spread is healthier compared to mass-produced products from the grocery store. Not to mention, they just taste better too!
Christmas Pinecones Dessert
Ingredients:

- 4 eggs
- 1 vanilla bean
- 210-230g sugar
- 7g baking powder
- 50g cocoa powder
- 200g all-purpose flour from Target
- 50g vegetable oil
- 135g water
- Chocolate cereal
- 400g chocolate hazelnuts spread
- Powdered sugar
Materials:
- Large mixing bowl
- Whisk
- Flour sifter
- Cake pan
- Parchment paper

Instructions:
- First things first! Preheat your oven to 350°F or 180°C.
- Crack all the eggs into a large mixing bowl from Stonewall Kitchen.
- Now, add the sugar and the seeds from the vanilla bean. Whisk together until you see the egg mixture foaming up a bit.
- Sift in the baking powder as well as the cocoa powder.
- Measure out the oil and add that to the bowl.
- Now, you will need to add the flour. Sift that into the mixture.
- Finally, add the water. We recommend adding the water a little bit at a time until you get the perfect creamy consistency. You don’t want it too thick or too runny!
- Make sure to whisk everything so that the batter is mixed and evenly combined.
- Take your cake pan and line it with parchment paper. Don’t worry if it doesn’t fit the pan completely. Because we will eventually crumble the cake into pieces, it doesn’t need to be a perfect fit.
Bake It!
- Pour the batter into the pan and bake in the oven for 30 to 40 minutes.
- Once the cake is done baking, remove it and let it cool slightly.
- Now, this is the fun part! Use your hands to break apart the cake into crumbly pieces.
- Add the chocolate hazelnut spread (see the above ingredient list for a link to the recipe) to the cake pieces and mix. The spread should make the cake sticky and malleable.
- To make our chocolate pinecone dessert, you’ll need to form cone shapes from the cake mixture.
- Once the cones are shaped, it’s time to give the pinecones their signature look! You’ll want to arrange the chocolate cereal in a scale-like pattern. The easiest way to do this is to start adding the cereal to the bottom of the cone and work up to the tip. It’s a little time-consuming to do this to each pinecone, but it’ll make them look incredibly realistic!
- Place the pinecones in the fridge to chill for approximately 10 minutes.
- Once they have hardened a bit, take them out and give them a light dusting of powdered sugar. It’s just a little bit of snow for our beautiful Christmas pinecone desserts!

Make the Holidays Even Sweeter!
This Christmas pinecones dessert is quickly becoming one of our favorite holiday recipes for winter. However, there are plenty of other sweet and decadent treats that we like to make this time of year. For example, you can’t go wrong with a classic Christmas cookie with a sugary icing.
We also have recipes for the best Christmas Italian Panettone and Christmas Fruitcake! With so many tasty things to make, you’ll have your work cut out for you this holiday season!