We hope you love the products we recommend! Just so you know, Trendy Mami may collect a share of sales or other compensations from the links on this page.
–
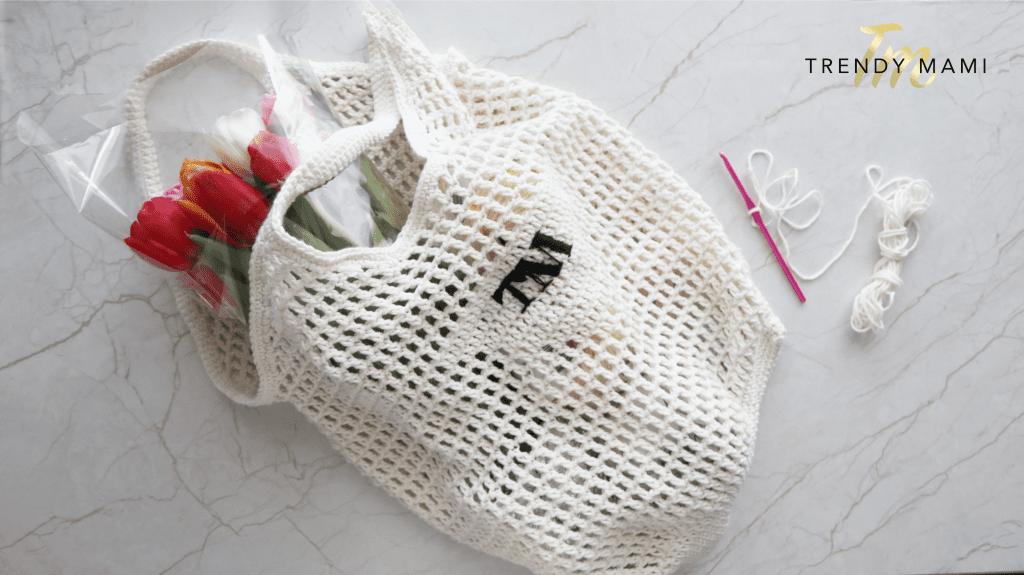
If you know how to crochet, you can make a lovely tote bag that would be great for spring and summer! Use it as a grocery tote, beach bag, or just as a part of your everyday fashion! Here are the steps for how to make a crochet tote bag.
How to Make a Crochet Tote Bag

First, let’s go through the materials you will need for these crochet bag patterns (which also come with a video tutorial). You’ll need tan 8/8 yarn, black 8/4 yarn, scissors, crochet markers, and a 4.5 mm crochet hook. Once you have your materials, you’re ready to learn how to make a crochet tote bag!
Things to Note
The measurements for this DIY crochet tote bag will be a width of 45, a height of 36, and a base of 25. Also, for our instructions, we will be using a few abbreviations. Here’s what they are:
- Sc: single crochet
- Sl st: slip stitch
- Ch: chain
- Dc: double crochet
- In st: invisible stitch
Now, let’s get into our instructions for how to make a crochet tote bag!
For the base, you’ll do a chain 34, for a total of 20 cm. Now, we’ll go row by row with the pattern that you’ll need to follow for the base.
Row 1:
Do 31 sc, then 3 single crochet on the last chain (23rd), then 31 sc, and 1 Sl st.
You should finish with a total of 66 stitches.
Row 2: (+2)
Start with an invisible stitch: make 1 loose chain stitch, go under the slip stitch chain with the hook, pull the loop under and tighten, then chain 1. Do 2 sc on the next stitch, then 32 sc, 1 sc, 2 sc on the stitch, 32 sc, and 1 Sl st
You’ll finish with 68 stitches.
Row 3: (+0)
Start with an invisible stitch and chain 1, then 67 sc, and 1 Sl st.
You’ll have a total of 68 stitches.
Row 4: (+2)
Start by doing an invisible stitch and chain 1. Then, 1 sc, followed by 33 sc, 2 sc on stitch, 32, 2 sc on the last stitch, and 1 Sl st.
You’ll end with 70 stitches.
Row 5: (0)
Begin with an invisible stitch and 1 chain, then 69 sc, followed by a Sl st.
You’ll have 70 stitches.
Row 6: (+2)
Do an invisible stitch with chain 1, then 1 sc, 2 sc on stitch, 34 sc, 2 sc on stitch, 34 sc, and Sl st.
You should have 72 stitches.
Row 7: (+2)
Do an invisible stitch with chain 1, 35 sc, 2 sc on stitch, 35 sc, 2 sc on stitch, and a Sl st
You’ll have 74 stitches.
Row 8: (+0)
Do an invisible stitch with chain 1, 73 sc, and a Sl st.
You’ll have 74 stitches.
Row 9: (+2)
Start with an invisible stitch with chain 1, 1 sc, 2 sc on stitch, 35 sc, 2 sc on stitch, 35 sc, and Sl st.
You’ll have a total of 76 stitches.
Row 10: (+0)
Start with an invisible stitch with chain 1, 75 sc, and Sl st.
You’ll finish with 76 stitches.
How to Make a Crochet Tote Bag: The Body
Now, let’s go through the steps for how to make the body. We’ll give you the instructions again for each row.
Row 1:
Do 1 sc, chain 1, and chain 1 again. Then make 76 dc and a chain 1. Sl st to connect.
You’ll have a total of 152 stitches.
Rows 2-9:
Do an invisible sc: Chain 1 and an sc on the same spot where you did the Sl st. Then, make 76 dc and chain 1 again and Sl st to connect.
You’ll have a total of 152 stitches.
Row 10:
For the 10th row, find the middle “square” and mark it with stitch markers. Once you reach the point, do 3 dcs and then a chain 1 to fill the square space.
Rows 11-17:
You will repeat the same step as row 10 only each time you’ll add two more squares to fill:
11: 3 squares, with 7 dc stitches
12: 5 squares, with 11 dc stitches
13: 7 squares, with 15 dc stitches
14: 9 squares, with 19 dc stitches
15: 11 squares, with 23 dc stitches
16: 13 squares, with 27 dc stitches
17: 15 squares, with 31 dc stitches
Rows 18- 22:
Repeat the same steps as in row 9. For Row 22, close with a needle.
The Handles
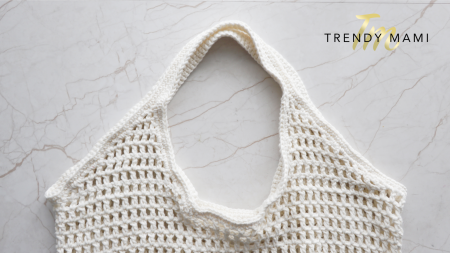
Next, you’re ready to make the handles. Start by marking the position of the handles with the markers (about 20 dc per side, both front and back). Then, mark 3 dc from the center, left, and right. There will be 8 rows for the handles, and here are the steps:
Row 1:
From the center to the back, do a double chain to start. It will become the curve in the inner of the handle. Then, do 30 dc stitches and chain, and do 2 dcs.
Row 2:
Do a double chain, 28 dc, and 2 dc.
For the following rows, we need to reduce the stitches in order to create a deep curve to the sides of the bag. Turn the bag to the back and start working on the left side.
Row 3: (15 dc)
Do 3 chains, 12 dc, and then a chain. Then dc (without chain 1) for the last 2 stitches and turn.
Row 4: (11 dc)
Do 2 Sl st to skip the first 2 dc posts. Then, 2 chain, 8 dc + chain 1, and 2 dc.
Row 5: (9 dc)
Start with 2 chains, then 6 dc + chain, and 2 dc.
Row 6: (7 dc)
Begin with 1 Sl st, then 3 chains, 4 dc and chain, and 2 dc.
Row 7: (5 dc)
Do 2 chains, 2 dc and chain, and 2 dc.
Row 8: (3 dc)
Do 1 Sl st, 3 chains, and 2 dc.
Repeat the steps on the front part and on the other side. Then, make 42 chains to reconnect the sides of the handles (front to front and back to back).
Now, it’s time to clean the edges. To do this, you will sc two stitches on any point on each chain. Include a gap between dcs. Then, go back to the starting point and finish the row with a Sl st. Make an invisible stitch then chain 1 and do 1 sc on each stitch all around again.
For the Inner Side of the Handle:
Sc 2 stitches on each chain, starting at any point and leaving a gap between dcs. Do one on the stitch. Once you reach the corner with the markers, skip the stitch and repeat 2 sc on the following gap. Repeat to the other corner. Once you’re back at the starting point, do 2 sc on the gap and 1 sc on the stitch until you finish the row. Make a Sl st to connect and close the row. Then, 1 invisible stitch, then chain 1. Next, do 1 sc on each stitch all around again. This time on the corner, you will skip the stitches next to the corner ones with the markers. Then, Sc 1 before and 1 after and continue to close the second row with Sl st.
How to Crochet
If these instructions have you scratching your head a bit, don’t worry! First and foremost, we’re including a video with this article to help you out. Second, if you want to learn how to make crochet projects that are more beginner friendly, feel free to get started here!
Get Crafty with These Other Projects!
Now you know how to make a crochet tote bag! You can decide to keep the squares as they are or add some embroidery. Or, if you want to make another bag, we’ve got an adorable option for you! If you love crocheting, we have more free crochet patterns! You can learn to make a summer top, a stuffed octopus, or a belt corset!