We hope you love the products we recommend! Just so you know, Trendy Mami may collect a share of sales or other compensations from the links on this page.
–
I’m always trying to think of fun, art activities that my children will enjoy. Sometimes it can be a bit challenging, because it has to be simple enough for my 4-year old to do, but still have to hold my 6-year old’s interest.
Salt paint is super easy and perfect for children of any age, using materials you most likely already have at home. All you need is glue, salt (duh), paper, and watercolor paints. Making salt paint is really fun, mainly because kids can be as creative and as messy as they want. The end result is an active afternoon without turning on the TV or video games, and something new to hang on your wall! You’ll find THE VIDEO at the end of the article.
Here are a few tips for the materials.
Workspace: Cover the surface that your kids will be working on in case glue or salt gets on it. A large sheet of wax paper is fine. Also, consider putting the paper that will be painted on in a shallow tray or baking dish to help contain the loose salt.
Paper: I suggest using dark colored paper, so that the colors will pop more against it. Black paper would look best. I also recommend thick paper such as cardstock, so that it will hold up under the weight of the glue. Cardboard or paper plates also work well. With paper plates in particular, your child can create a spider web, dream catcher, or snowflake pattern!
Salt: A can of standard table salt is perfectly fine, but if you want to create paintings with more texture, consider using Epsom salt as their crystals are larger.
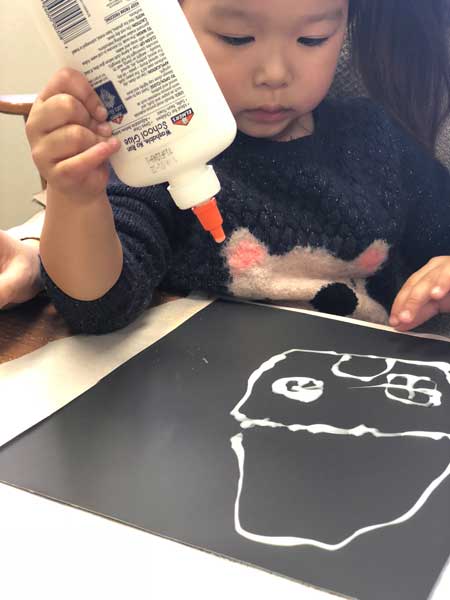
Glue: Any standard white glue like Elmer’s is fine. If your child wants more control in creating their design, use the squeeze bottle version so that they can “draw” on the paper. However, if you want them to have more creative freedom –and don’t mind them getting really messy—consider pouring the glue in a bowl and invite your kids to dip a paintbrush in it and let it drip slowly on the paper. Or heck, let them use their hands!
Watercolors: You can use a watercolor palette like in the video, or liquid watercolor paint like this.
Now that you have all your materials and children gathered, let’s begin!
Step 1: Draw something –anything—on the paper.
Step 2: While the glue is still wet, cover it with salt. Help the children slowly tilt their paper back and forth to make sure every part of the glue is covered with salt. Dump the rest into the tray. Don’t throw the excess salt away! When your little artists have finished their work, carefully collect the excess salt to use for next time.
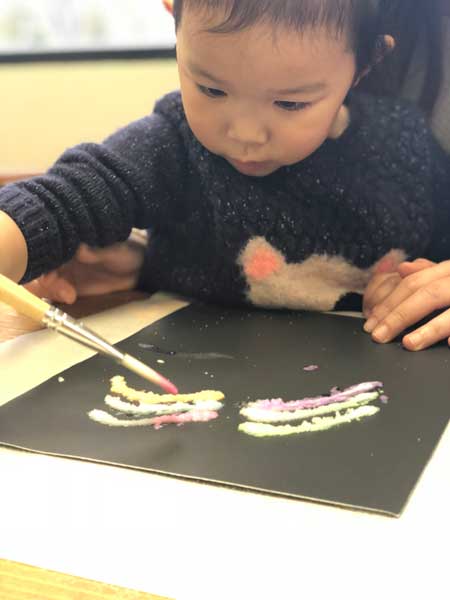
Step 3: Get a small paintbrush and carefully start painting the salty glue. Some people use an eyedropper, but that can cause the paint to spread out more. Then again, maybe that’s what your child is hoping to do!
Step 4: Let it dry for a day or two, preferably on a flat surface. If you hang it, gravity may pull the glue downward and thus ruin your little one’s work. Keep in mind that as the glue dries and water evaporates, the color will not be as vibrant.
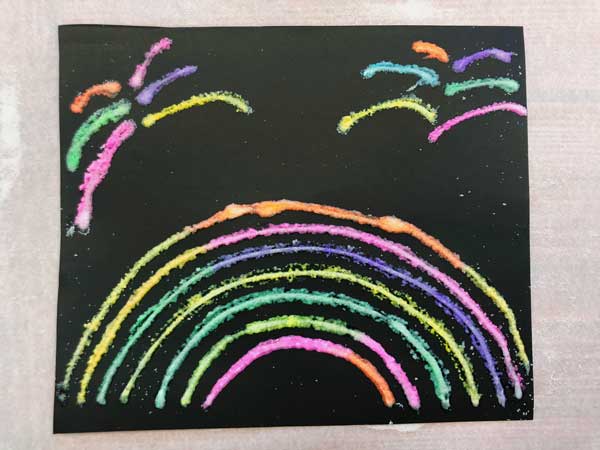
Step 5: Display your salt paint art!
Do you want to see it in action? Watch the video about Salt Paint below!