We hope you love the products we recommend! Just so you know, Trendy Mami may collect a share of sales or other compensations from the links on this page.
-
A terrarium jar is essentially a self-contained garden that you can display around your house. Not only is it great home decor, but it also makes a great gift for friends and family members! Best of all, they’re super simple to make, even if you don’t have a green thumb.
All you need is a jar, a couple of different types of soil, and some humid-loving plants. For this tutorial, we’ll walk you through step-by-step so that you can have your very own mini garden in no time.
Why Make a Self-Sustained Terrarium Jar?
If you’re looking for easy to care for plants, you should consider building a terrarium jar. These plants usually grow without requiring much care, making them perfect for the beginning gardener.
To get the most out of your terrarium, figure out whether your plants need full sun exposure or will be okay with bright indirect light. In addition, you should learn whether your plants prefer moist or dry conditions. That way, your plant thrives, and you’ll have a happy start to your plant-owning journey!
What Are the Different Types of Terrariums?
When you start researching how to make a terrarium jar, you’ll come across two terms: closed terrarium and open terrarium. At first, the differences appear minimal. After all, a closed terrarium closes, usually with a lid, while an open terrarium remains open.
However, closed terrariums have high humidity. The moisture from the soil will evaporate and condense against the lid and the sides. Then, the moisture will fall back into the soil, and the cycle will begin again.
So, closed terrarium plants need to do well in humid conditions. These types of terrariums are self-sufficient because of the evaporation-moisturization process.
Open terrariums don’t have a lid, which makes the atmosphere drier. So, as the plant grows, it should do well under drier conditions. These terrariums are also not self-sufficient.
Time to Make the Jar!
Now that you know the difference between open and closed terrariums, it’s time to make one that will sustain itself! Of course, this means it will be a closed terrarium. So, get out your glass jars (and their lids) and start following the instructions below!
Materials for the Terrarium Jar:
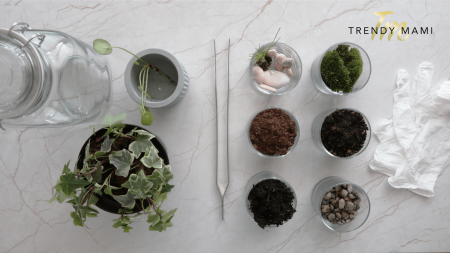
- A jar
- Tweezers
- Gloves
- Regular potting soil
- Graveled soil
- Airy soil
- Small stones
- Moss
- Plants – we are using ivy and Pilea peperomioides (Chinese money plant), although you can use any plants that work well in a humid environment
Instructions to Make a Terrarium Jar:
1. We are going to start this project by adding three levels of soil to your terrarium jar. First, add a layer of graveled soil. You can even it out by using the tweezers if you need them.
2. Next, add a thin layer of airy soil.
3. Now, spray or sprinkle water onto the soil for moisture.
4. With your regular potting soil, add a third layer to the jar.
5. After adding the three levels of soil, we can now prep our plants. For this project, we are using what we think are the best terrarium plants, Chinese money plants. However, you can use anything that can survive humid temperatures. And don’t worry if the plants don’t have roots – they will still grow in the terrarium.
6. If you are trimming from a larger plant, you will need to make a cut at the right place for the plant to propagate in the terrarium. For this to happen, you need to make a horizontal cut right before the leaf node. Make sure your scissors are sanitized as well! Any dirt or grim and transfer bacteria that could be harmful to your plant or propagated stem.
7. With your tweezers, gently place the trimmed plant into the soil. Make sure it’s partially buried and can stand upright by itself.
8. Continue until you have added all the plants you want to your jar.
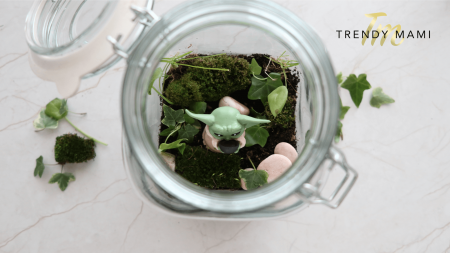
9. Now, cover the top layer of soil with a thin layer of moss.
Extra Decorations
10. For more decorations, you can add some small rocks or stones.
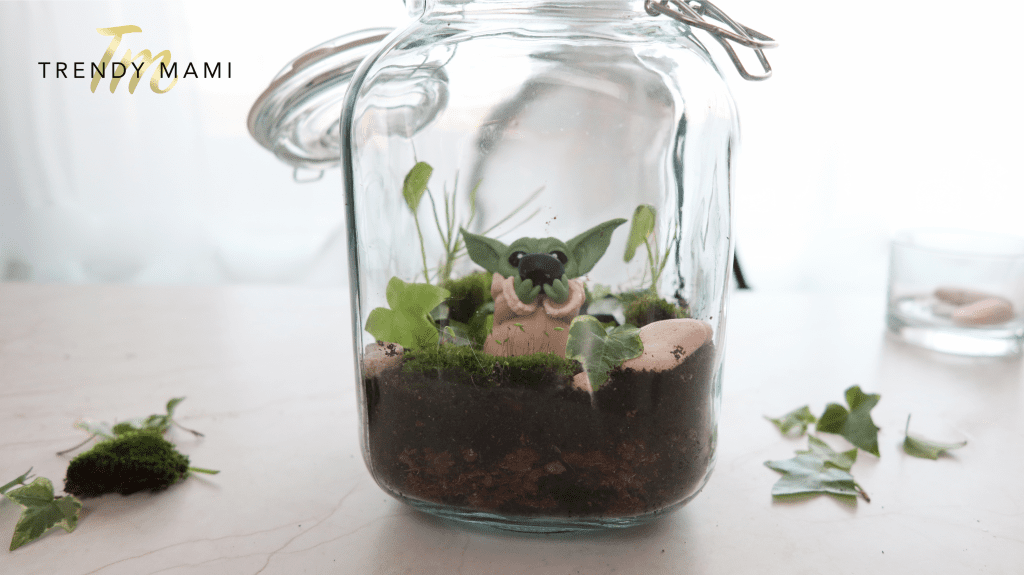
11. We also like the look of some ivy in our terrarium, so feel free to add some to the moss if you have it. If you have any other cute statues or items, they can also look great in the jar too! Be creative!
12. After your terrarium is how you like it, we will add one final thing before closing the lid. Water! Spray the plants and soil with a little bit of water for humidity and moisture.
13. Seal the terrarium jar with its lid.
14. Your terrarium can survive in most places, although it thrives when placed in an area with lots of natural light. You don’t need to water often – only once every few weeks.
Growing Your Green Thumb
Wasn’t making a terrarium jar super simple? It’s a low-maintenance garden that brings a bit of the outdoors to the inside!
If you are looking to make an open-air terrarium, we have a DIY tutorial for that too. And now that you’ve conquered the terrarium, you can start on a couple of other fun gardening projects. How about making your own herb garden or vertical garden? Once you add plants to your home, you’ll see just how much color and happiness they’ll bring into your life!